Written by
Jason | Owner of the Tasmanian Adventure Company
Keen multi-day hiker and general outdoor enthusiast.
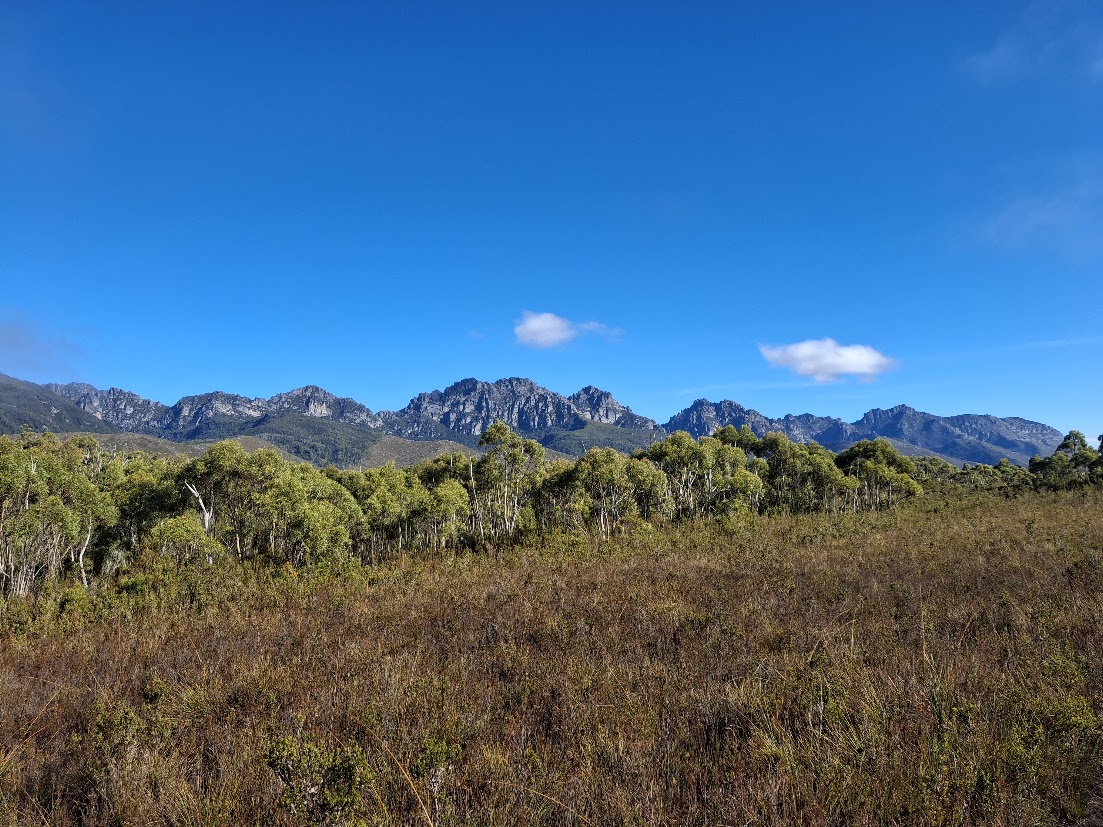
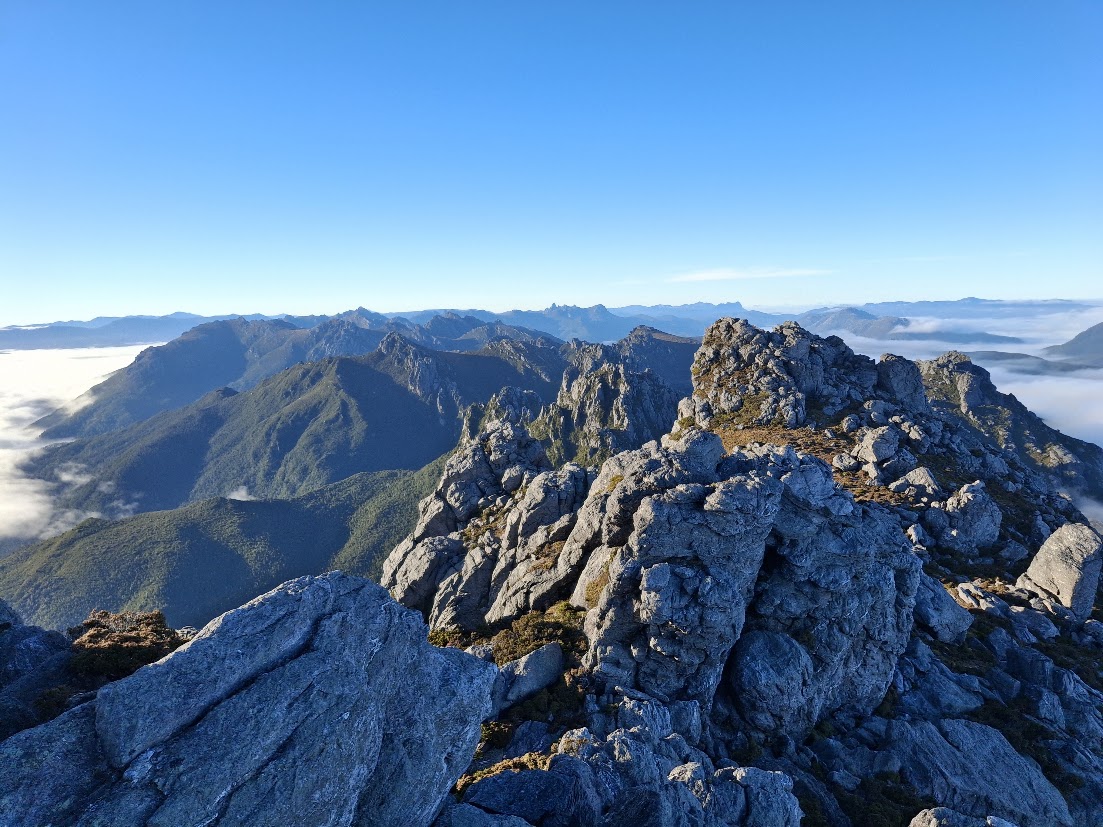
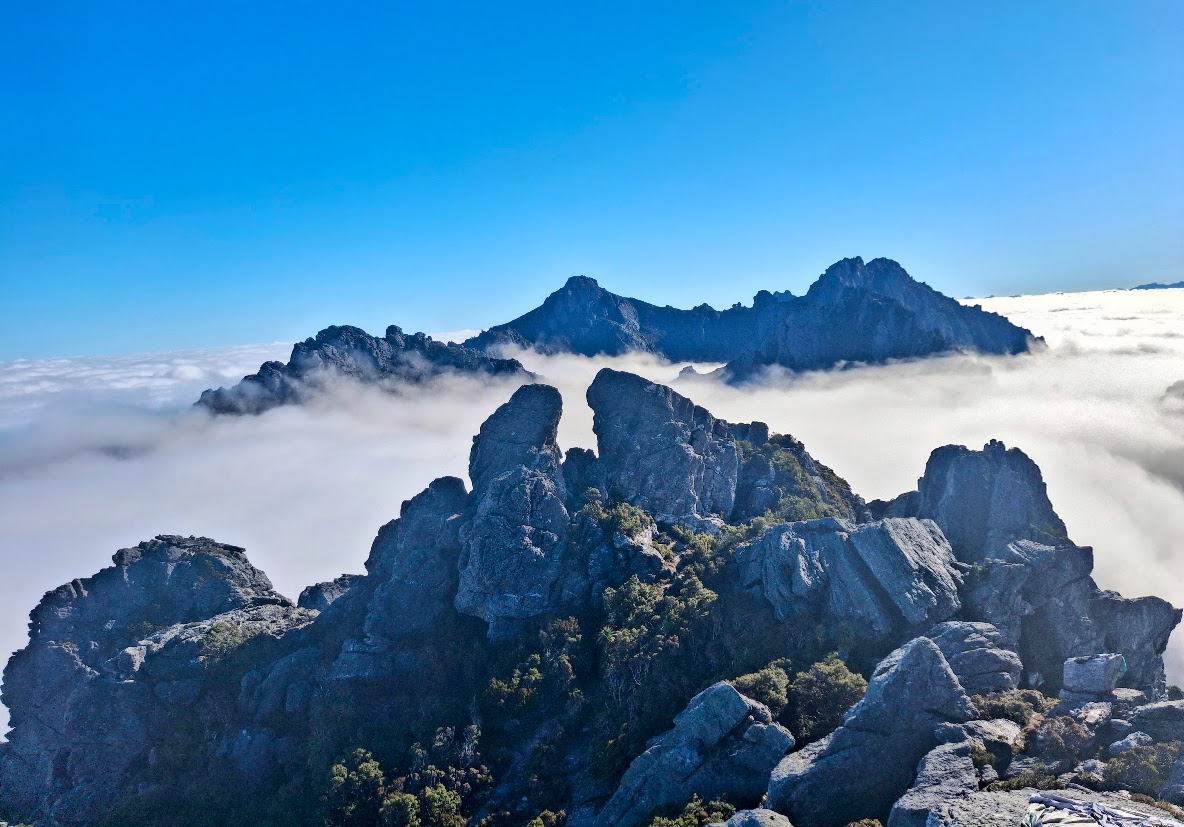
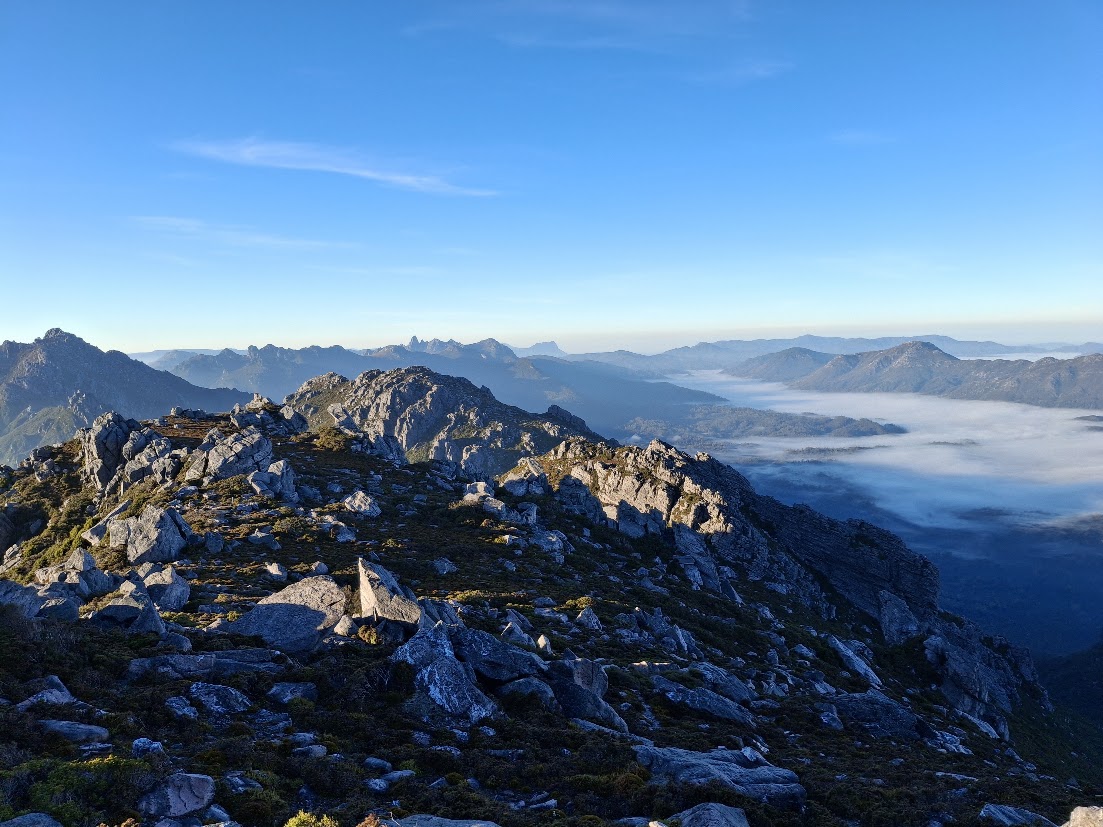
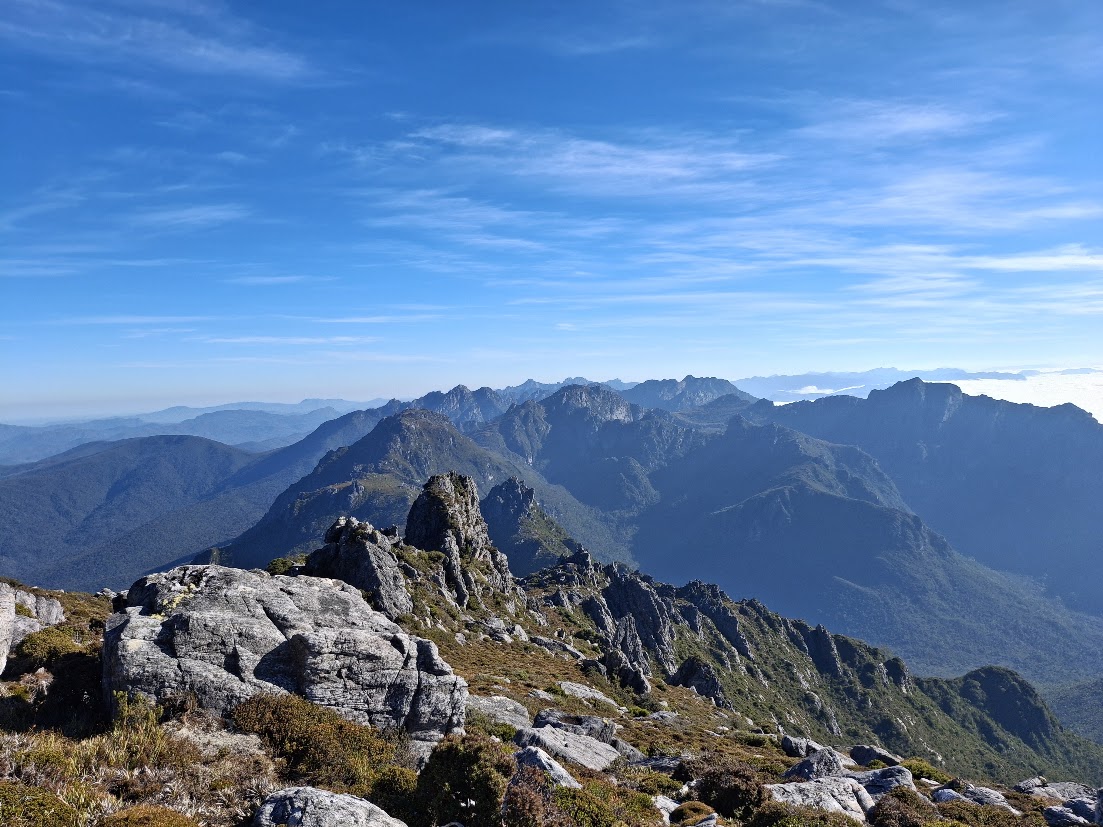
In May 2026 I spent a week completing the full Western Arthurs Traverse, and somehow managed to hit the weather jackpot. Rain and wind were almost nonexistent – the mud definitely wasn’t – and a massive cloud inversion settled in for most of the trip. The result was surreal: jagged quartzite peaks rising out of a rolling ocean of cloud while I walked in sunshine above it all. With clear skies came icy mornings and frosty camps, but each day opened into perfect conditions for tackling one of Tasmania’s most demanding and spectacular multi‑day hikes.
Regarded as one of the most physically challenging and visually dramatic treks in the Southern Hemisphere, the Western Arthur Range is a true wilderness crucible. This Western Arthurs Traverse guide and trip report aims to capture both the logistical reality of the journey and the raw, lived experience of scrambling across steep ridgelines, navigating boulder chutes, and moving through a landscape that feels suspended above the world.
It was honestly such an awesome (albeit tough!) experience and gave me a huge appreciation for anyone who takes on the full traverse. Rather than try to describe it all in words, I’ve pulled together a selection of my favourite photos to share the experience properly. I’ve also included a short summary of each day to add context to the gallery, along with practical information about what to expect on the trail. Enjoy!
- Western Arthurs Traverse | What to Expect
- Western Arthurs Traverse | Key Trail & Logistical Information
- Day 1 | Scotts Peak/Huon Campground to Base of Alpha Moraine
- Day 2 | Base of Alpha Moraine to Lake Oberon
- Day 3 | Lake Oberon to High Moor
- Day 4 | High Moor to Haven Lake
- Day 5 | Haven Lake to Lake Promontory
- Day 6 | Lake Promontory to Cracroft Crossing
- Day 7 | Cracroft Crossing to Scotts Peak/Huon Campground
Western Arthurs Traverse | What to Expect
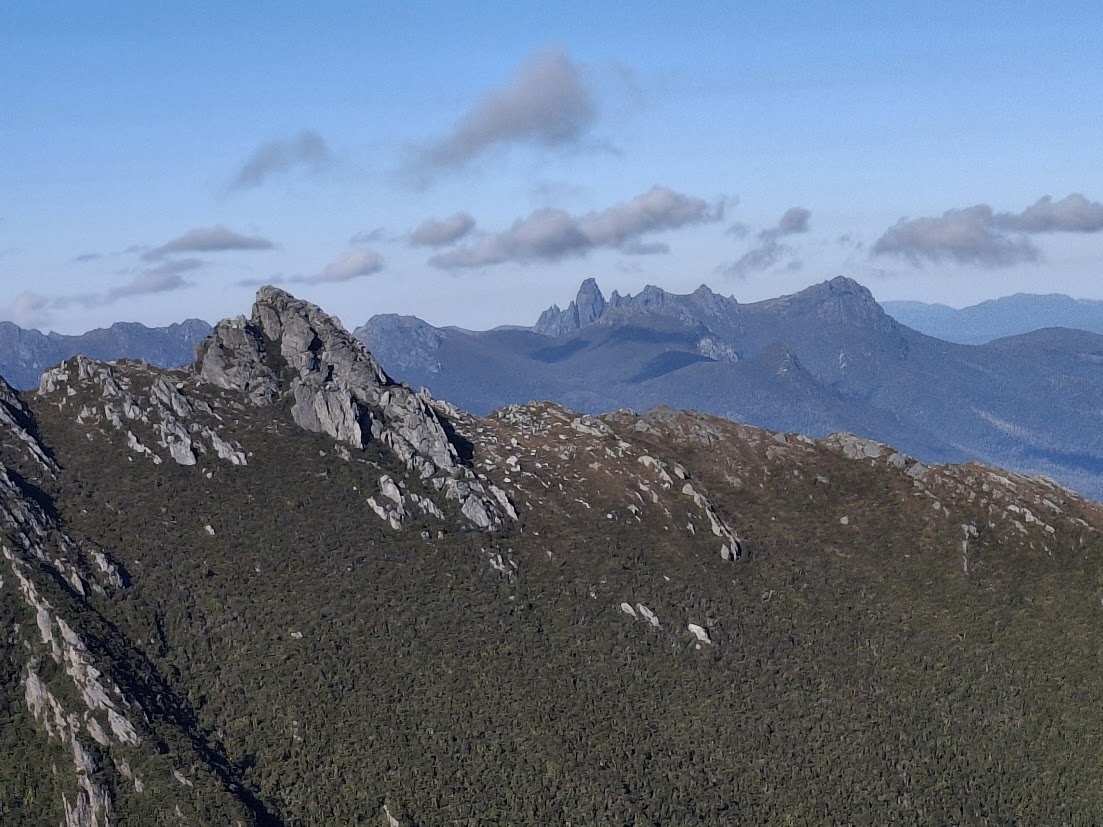
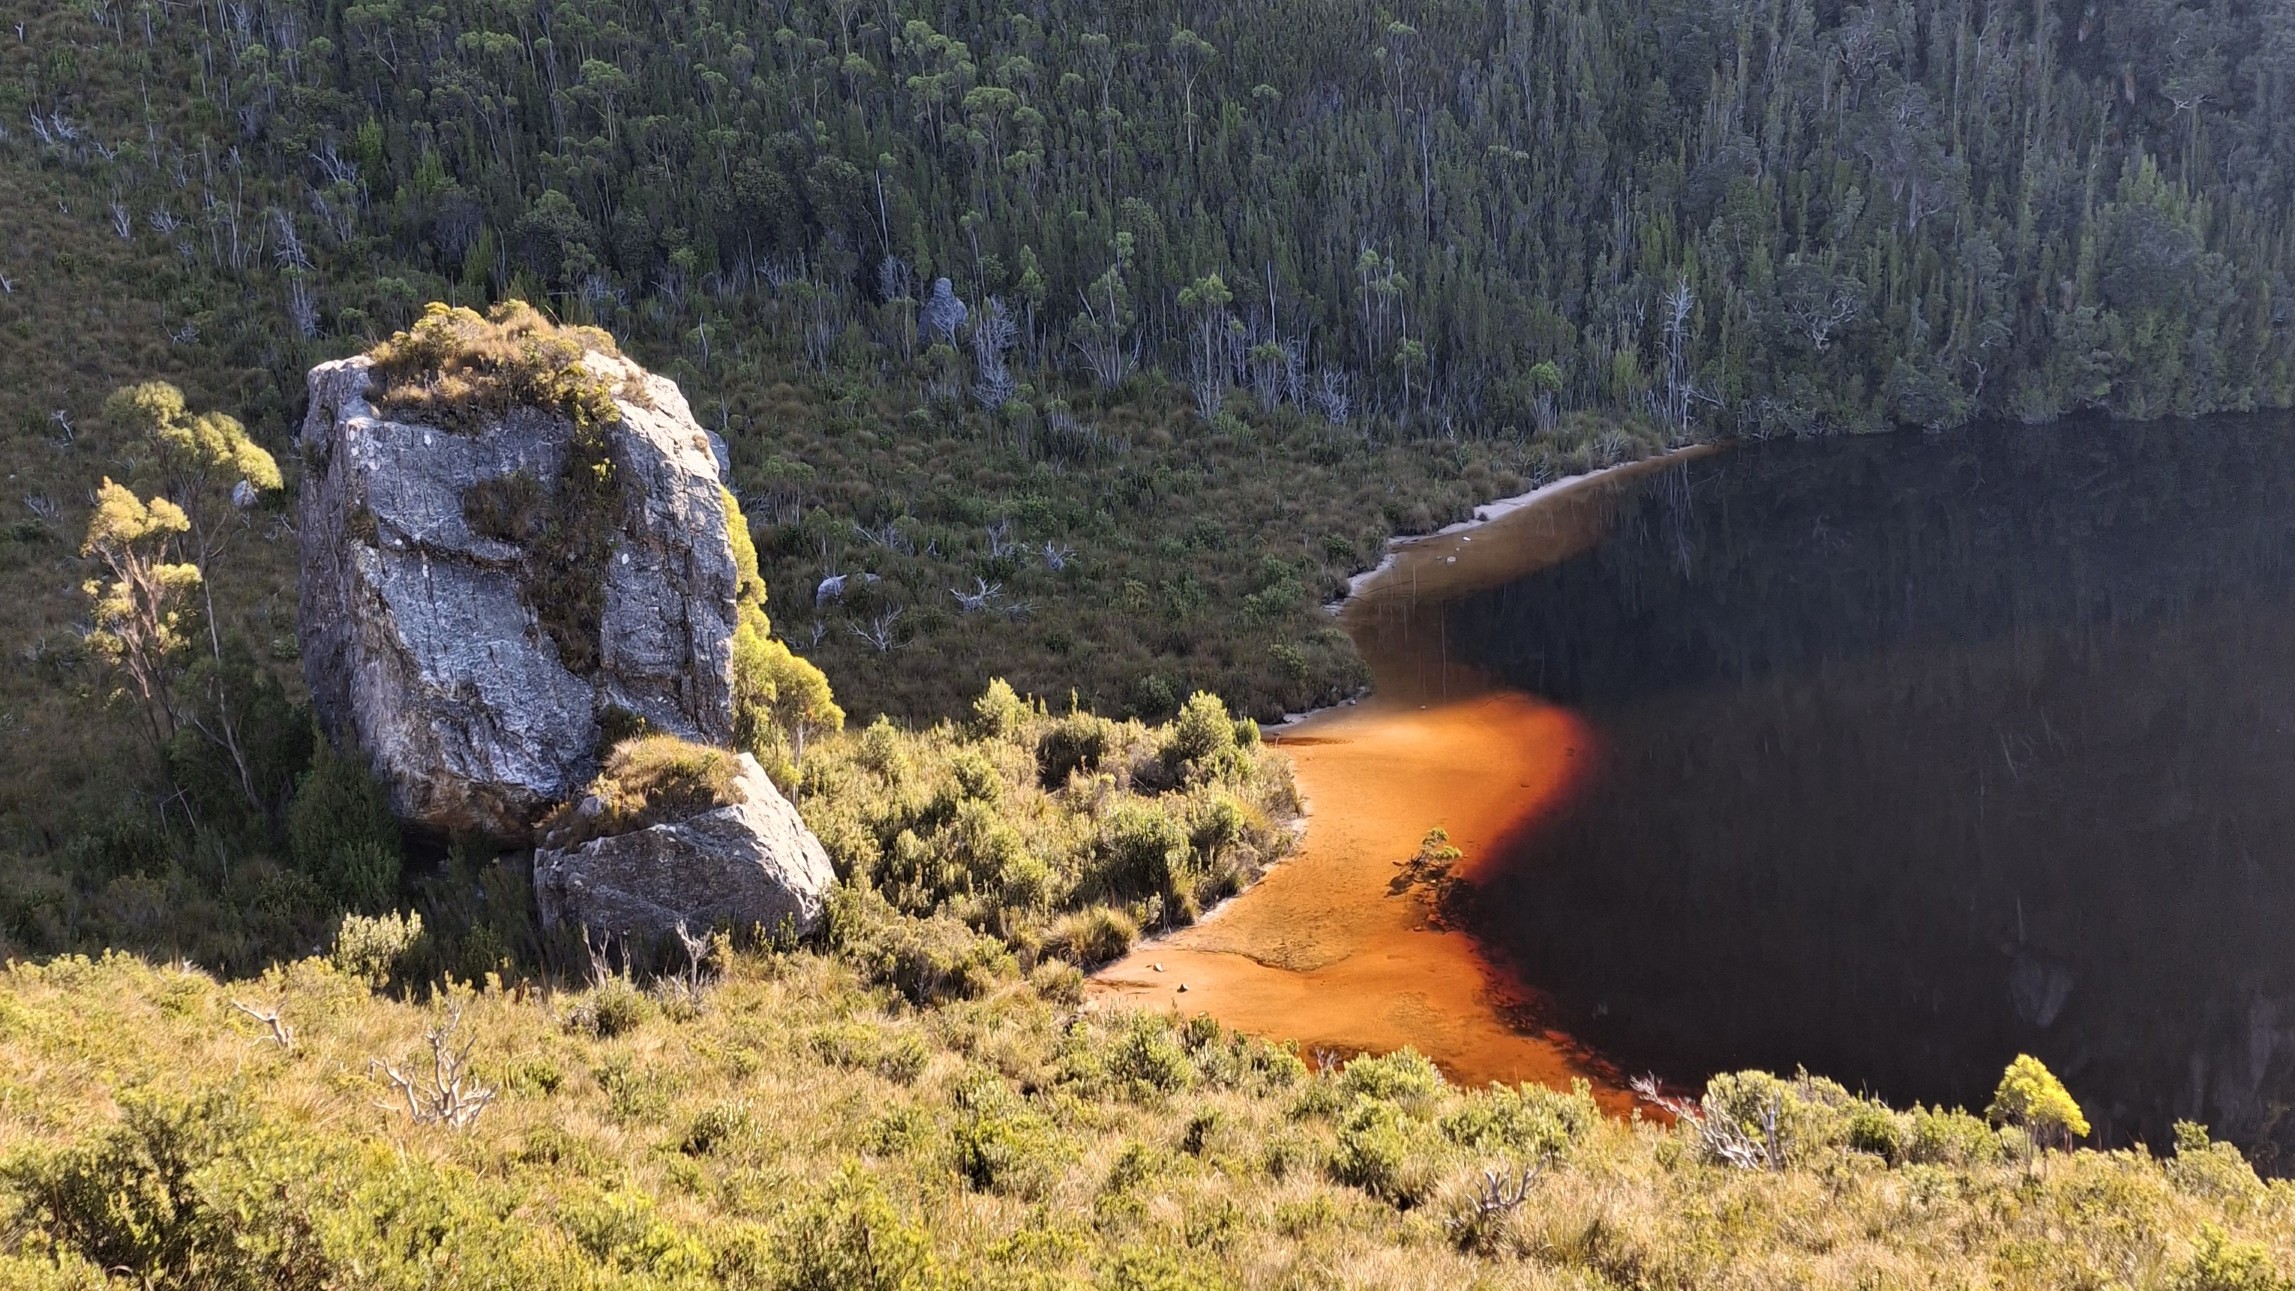
Carved by ancient glacial action, the world‑renowned Grade 5 circuit of the Western Arthurs Traverse winds past dramatic hanging lakes, towering quartz spires, and exposed razorback ridgelines that monster the button grass plains below. The range feels both ancient and imposing – a maze of steep gullies, narrow saddles, and sculpted rock formations that create one of the most immersive alpine environments in Tasmania.
Despite its beauty, the Western Arthurs demand a high level of fitness, confidence on technical terrain, and a willingness to move slowly and deliberately through sections that may require pack‑hauling, careful foot placement, and sustained concentration. Mud on the plains, boulder chutes on the ridges, and constant elevation changes make progress far more physical than the raw kilometre count suggests. Campsites are tucked beneath sheer cliffs or perched on exposed shelves, often offering incredible views but little protection from the elements.
For those ready to take it on, the traverse offers an unforgettable blend of challenge and reward. It’s a route where every metre is earned, every viewpoint feels hard‑won, and every day reinforces why the Western Arthurs Traverse is considered one of the most spectacular and demanding multi‑day hikes in the Southern Hemisphere.
Western Arthurs Traverse | Key Trail & Logistical Information
Getting There
The trail begins and ends at the Huon Campground at Scotts Peak Dam. Located deep within the Southwest Wilderness, it is roughly a 2 hour and 45 minute drive (150 km) from Hobart via the Gordon River Road and the unsealed Scotts Peak Road. Private vehicle or specialized hiker transport transfers are required.
Our Tasmanian owned and Hobart-based transfer service between Hobart and Huon Campground/Scotts Peak is one of the most convenient and budget-friendly ways for hikers to access the Western Arthurs. More information can be found here: Western Arthurs Transfers.
Best Walking Season
The optimal window is between December and March. January and February offer the lowest statistical rainfall, though severe weather – including heavy rain, gale-force winds, and summer snow – can strike the high peaks at any time of year.
Weather in the Spring shoulder season (September to November) can be very unpredictable, while decent weather windows can often occur in the more stable Autumn months (April and May). Any shoulder season trip needs to consider shorter daylight hours during these periods.
Registration and Passes
All hikers must hold a valid Tasmania National Parks Pass. Additionally, a strict, capped daily registration system is enforced by the Tasmania Parks and Wildlife Service to protect the fragile alpine environment; spots must be booked well in advance.
Trail Facilities
Expect a grueling 5-to-10 day Grade 5 loop (ranging from 67km for the popular A-to-K partial loop to 83km for the full traverse). Established campsites on the range between A to K feature timber tent platforms and open-air drop toilets. Campsites past Haven Lake (Lake Promontory and Lake Rosanne) do not have platforms or toilets. Fuel stoves are mandatory; open campfires are strictly forbidden.
Peak-Bagging (The Abels)
Along the full range there are 6 Abels of Tasmania which are all fairly accessible from the main trail (weather and experience/ability dependent of course). When travelling East to West you reach them in this order: Hayes, Sirius, Orion, Aldebaran, Scorpio and West Portal. All but West Portal are accessible on the shorter A to K route. Aldebaran and West Portal are the most committing in terms of the distance off the main trail. Sirius has the best view.
Gear & Equipment
The usual gear requirements for remote multi-day walking trips in Southwest Tasmania apply. Keeping pack weight down is important to assist with navigating the technical terrain, but not at the expense of carrying all necessary safety equipment. A short rope could certainly be useful for pack-hauling in some sections along the range, particularly in inclement weather, but it depends on personal preference. A PLB or satellite communication device is a must as mobile phone signal is non-existent, except for some high points along the range.
Day 1 | Scotts Peak/Huon Campground to Base of Alpha Moraine
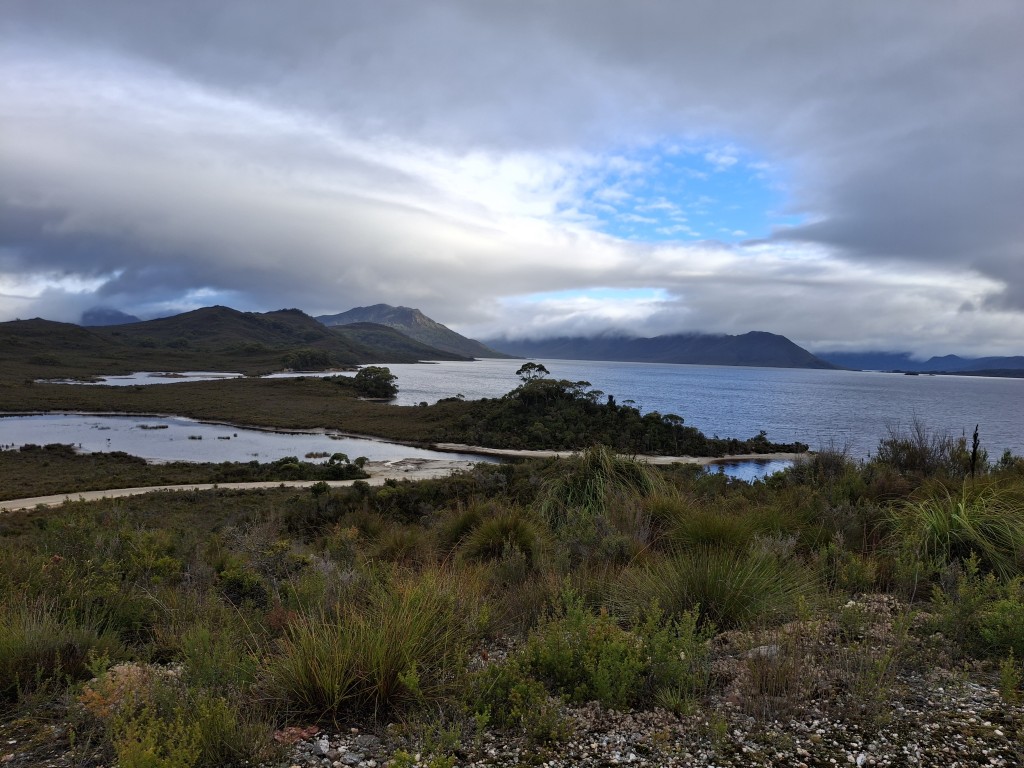
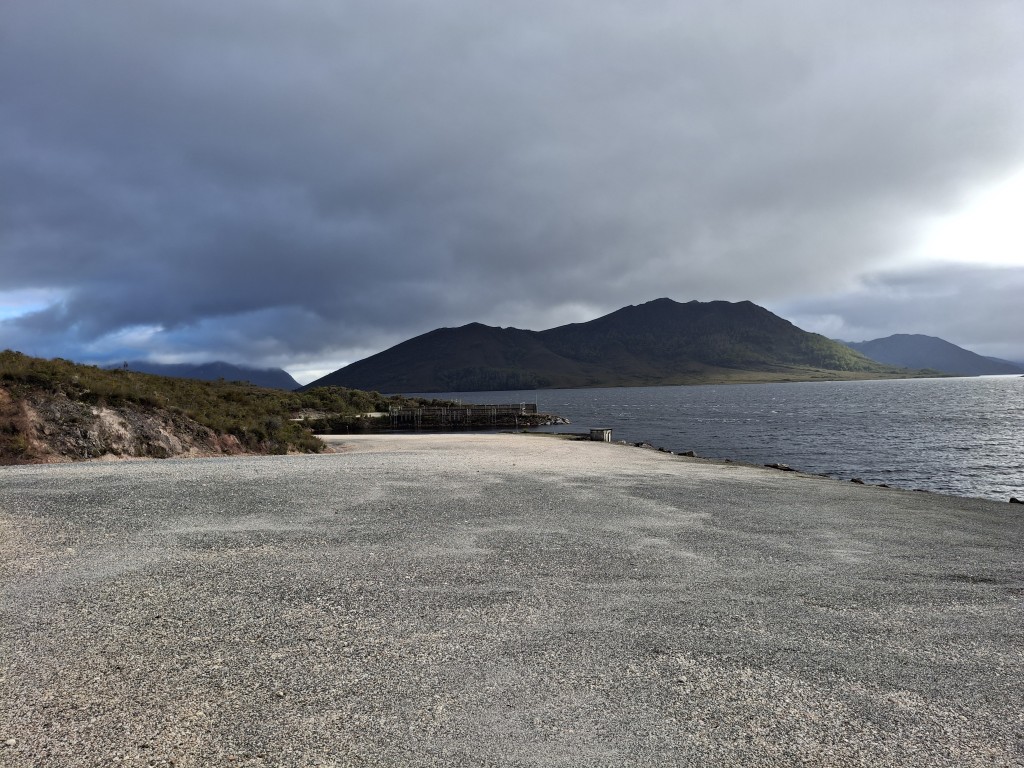
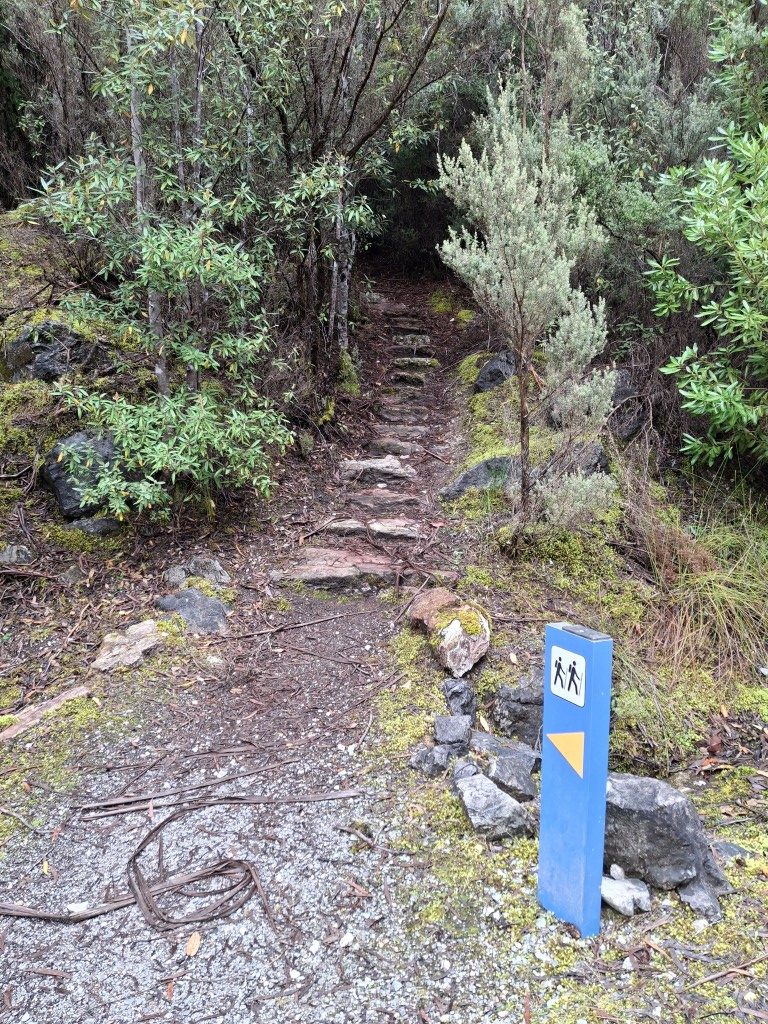
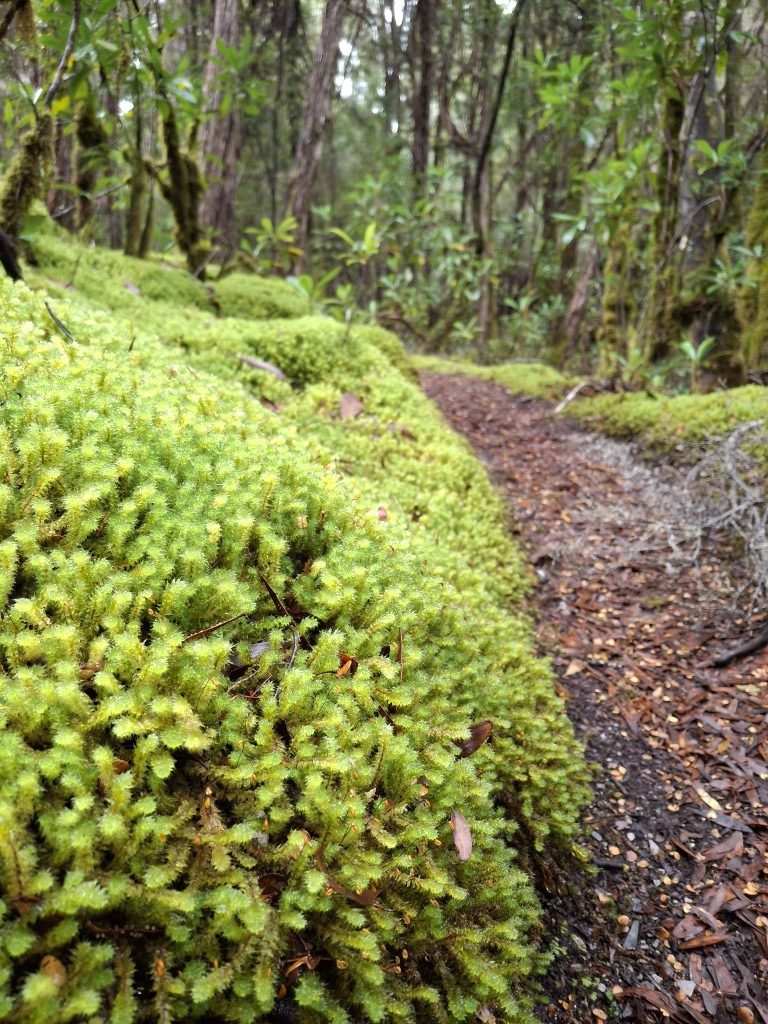
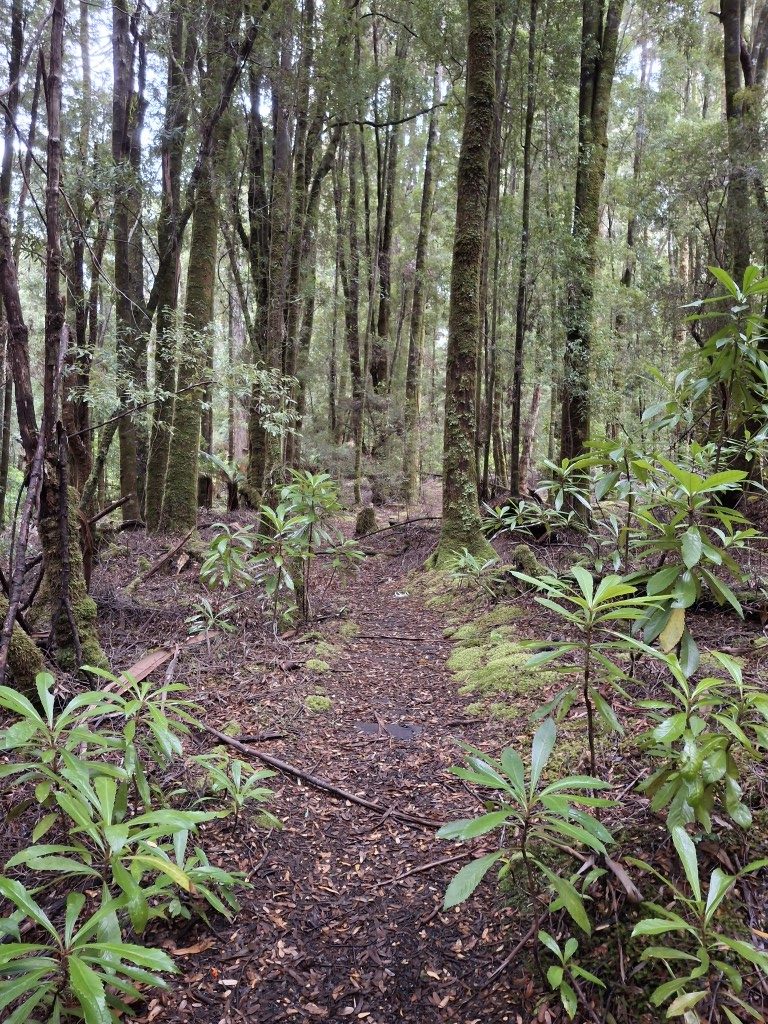
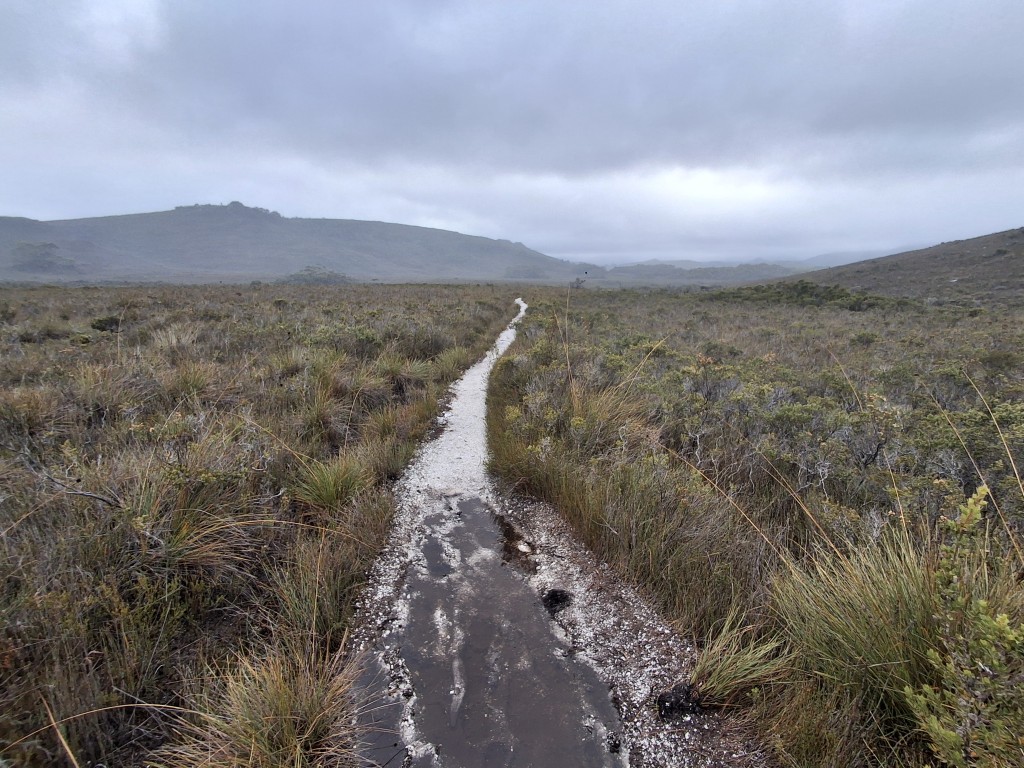
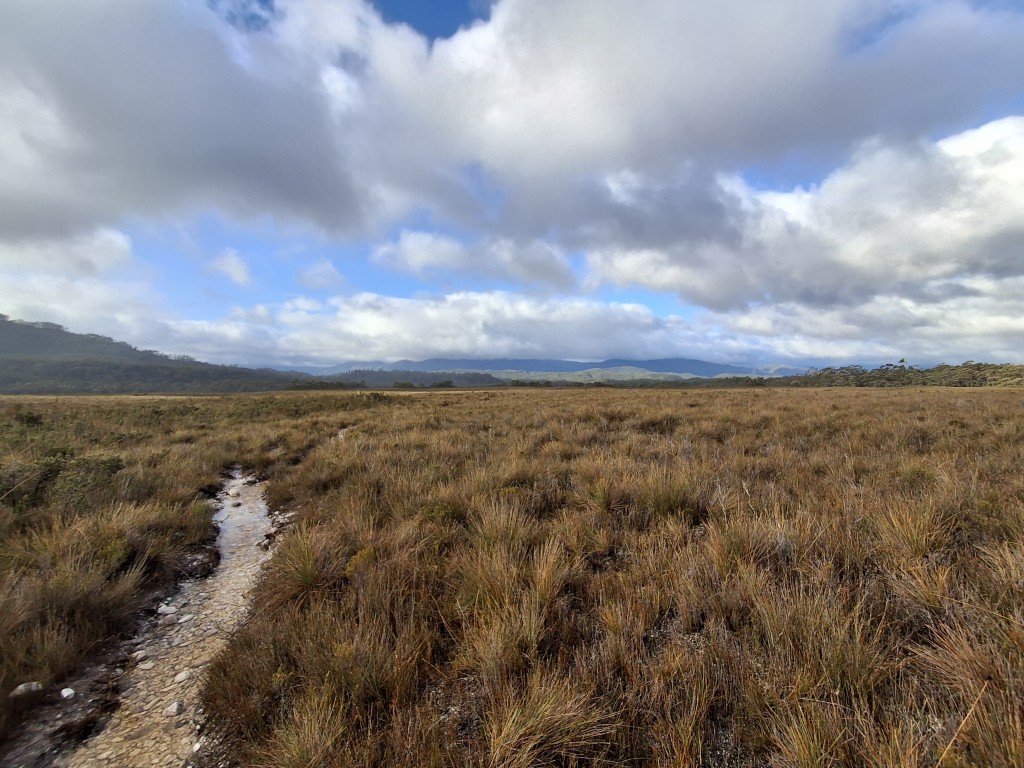
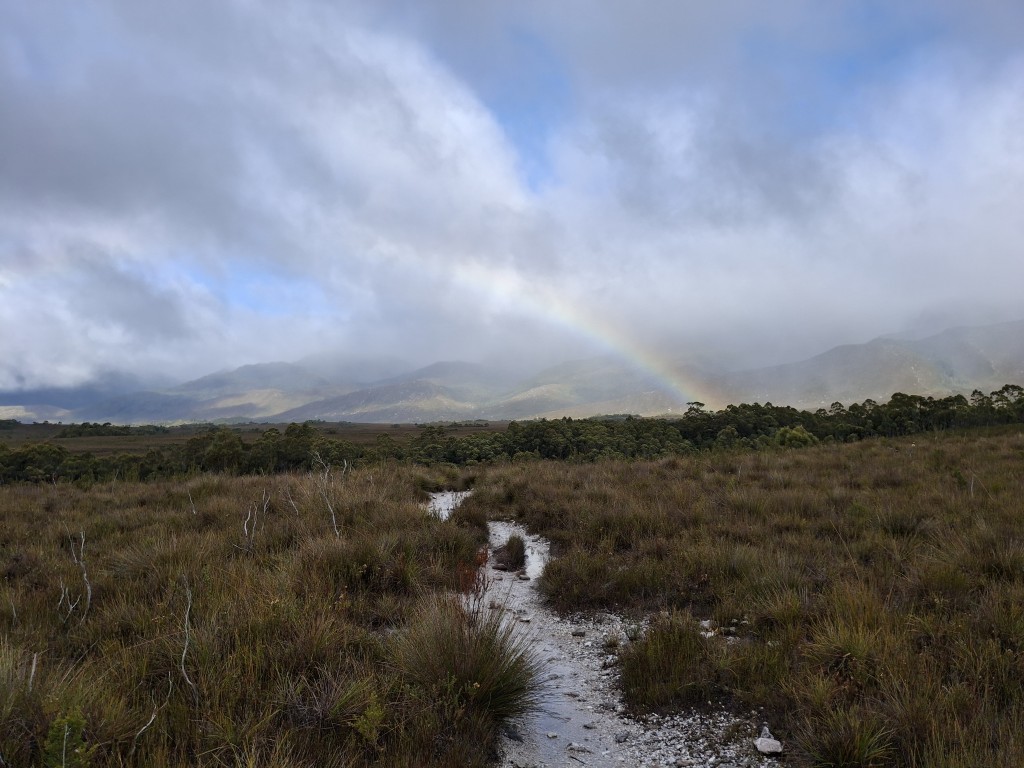
I set off from the trailhead at around 10:30am. The weather forecast for the first day was for a bit of drizzle to come and go accompianed by a light to moderate westerly wind. My plan A was to walk to the base of Alpha Moraine where there is an ‘unofficial’ campsite consisting of a tiny clearing next to a creek.
There had been around 50 millimetres of rain over the previous few days so I was wary of how high Junction Creek would be (it’s not uncommon to be impassable after heavy rain). I was happy to find it was only around thigh deep so managed to cross comfortably with some care.
I had considered pushing through to Lake Cygnus, but due to the short Autumn days, along with the threat of fairly strong winds across the tops, I decided to stop and set up camp once I reached the base of Alpha Moraine.
Day 2 | Base of Alpha Moraine to Lake Oberon
There was a thick cloud covering the plains as I packed down camp on the morning of day 2. Thankfully the wind had completely died down overnight and the forecast for the next 6 days was about as good as it gets for such a notoriously wild part of the world.
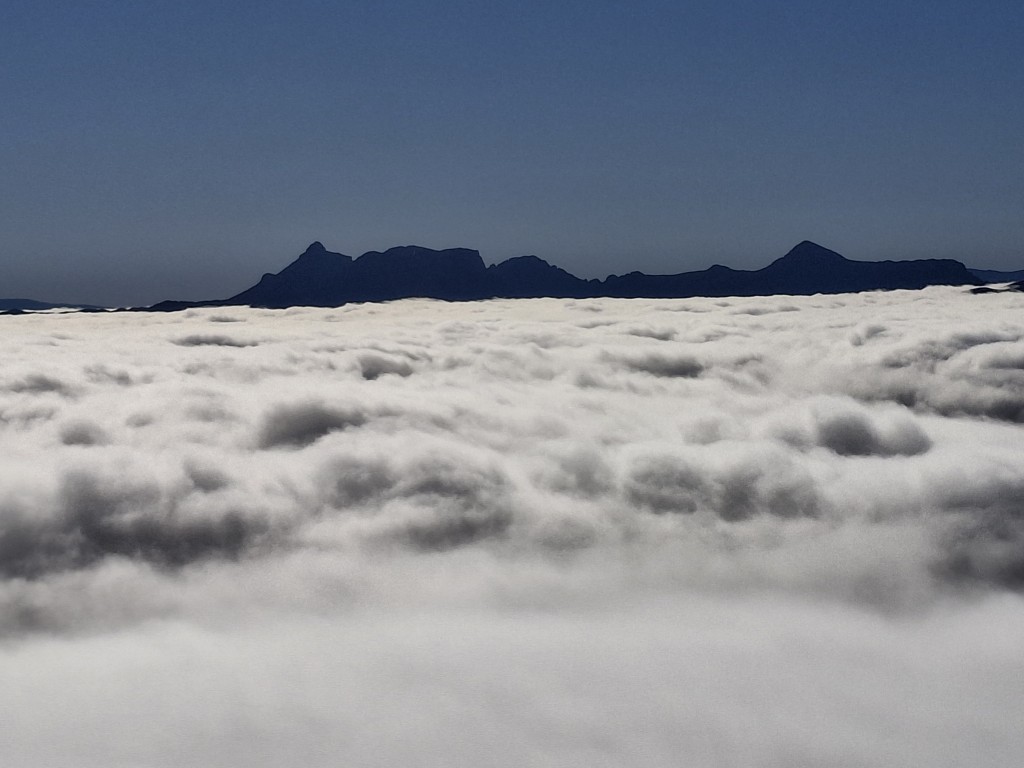
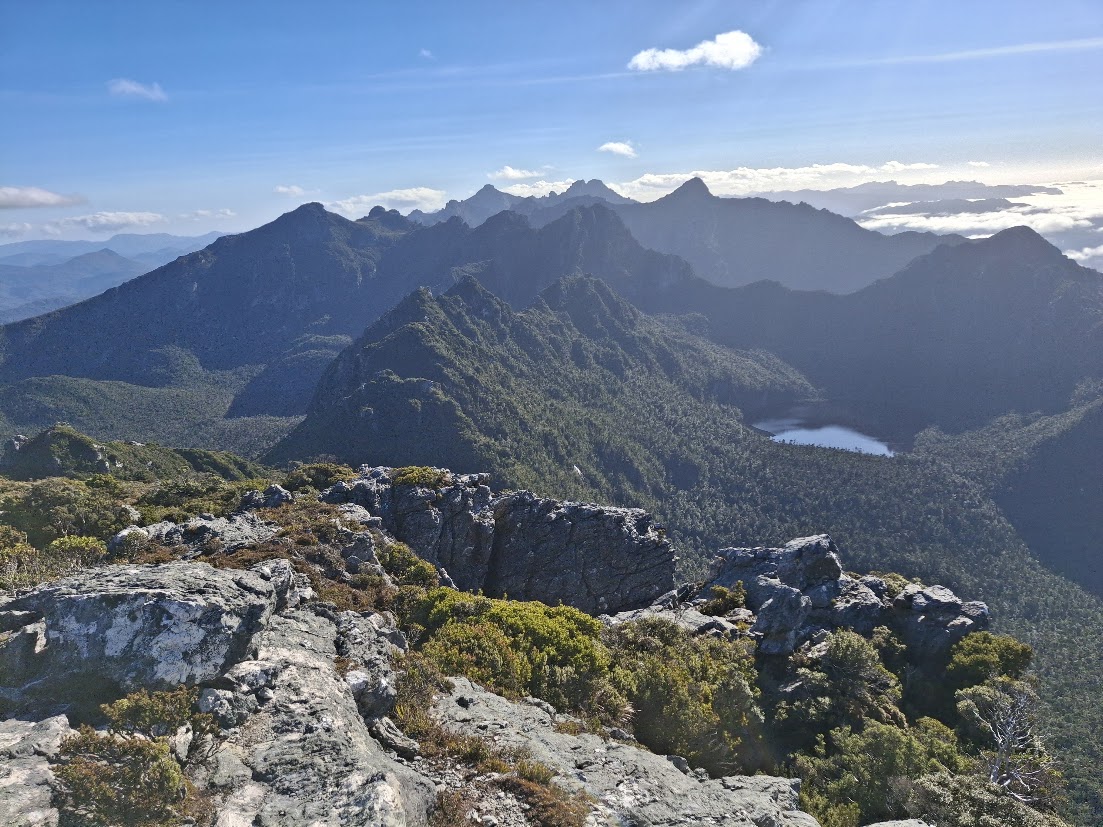
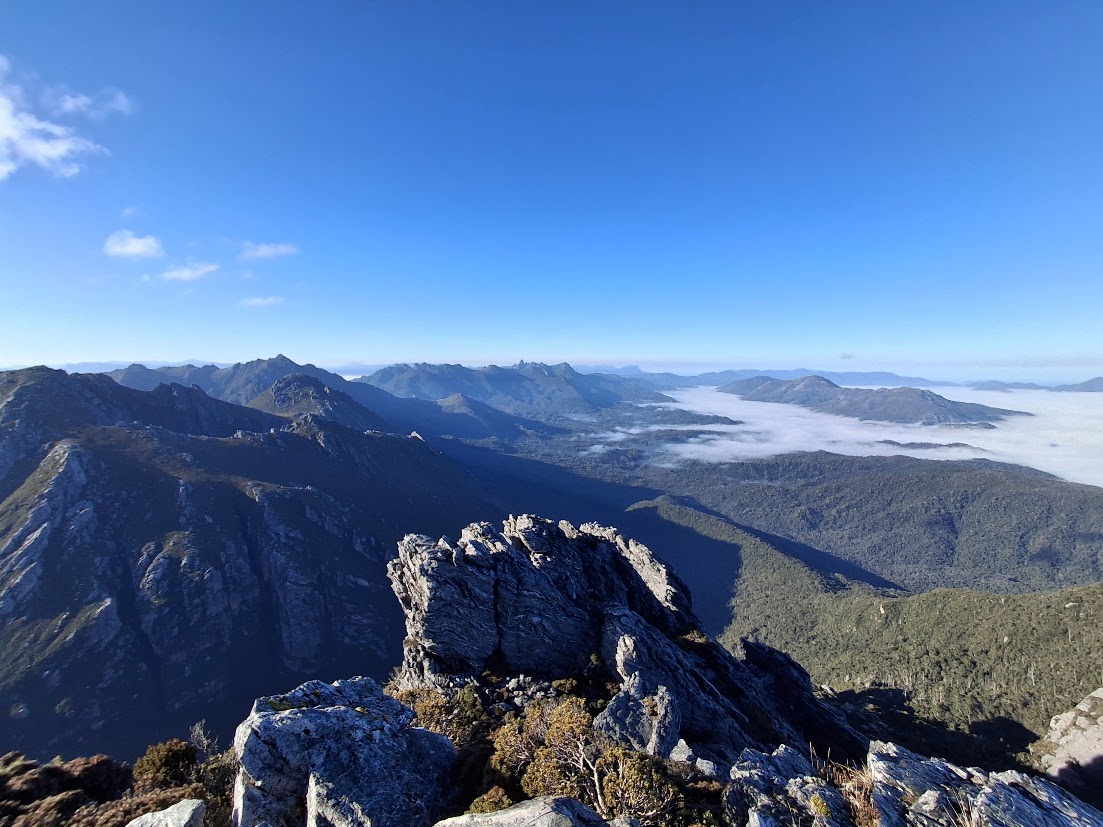
As I climbed up Alpha Moraine on to the Western Arthurs Range, I popped out of the cloud which I could now see completely engulfed the valley floor below. This cloud inversion was pretty constant for the whole trip, making for a surreal experience as the distant peaks of the surrounding mountain ranges appeared above a white ocean of cloud.
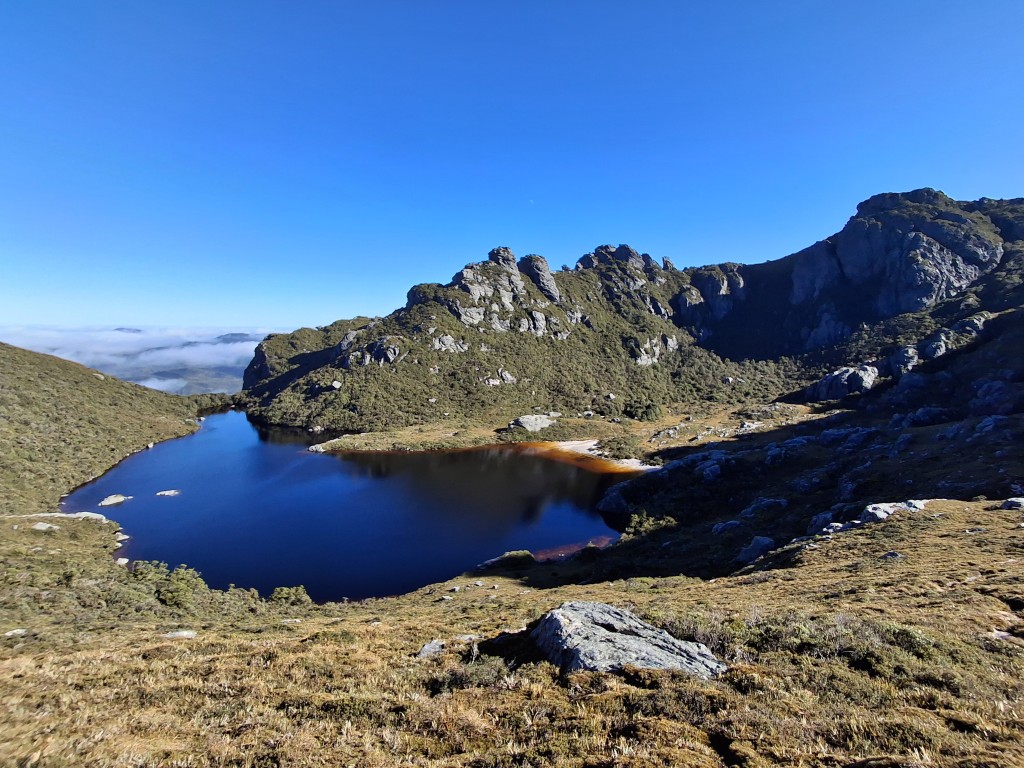
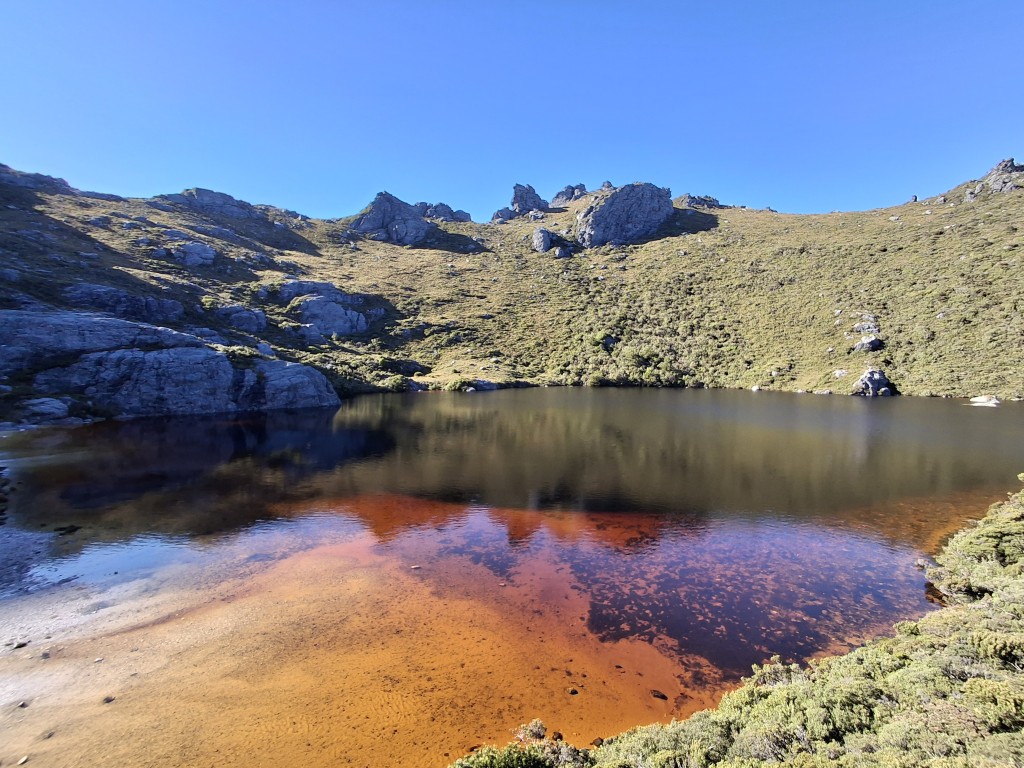
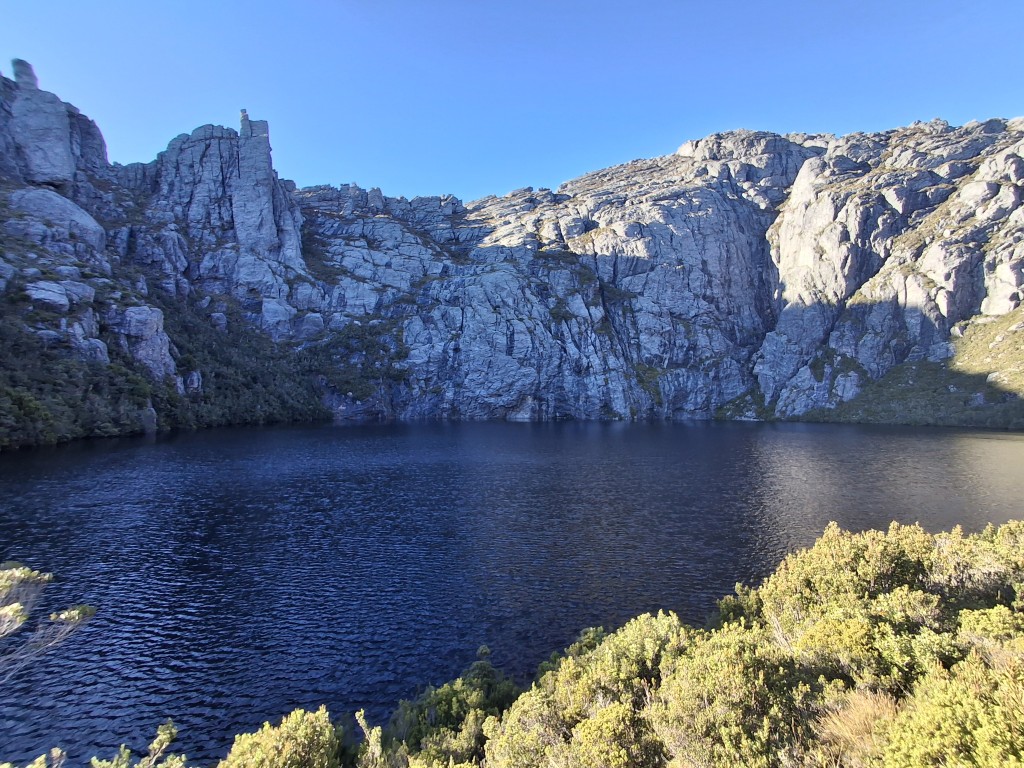
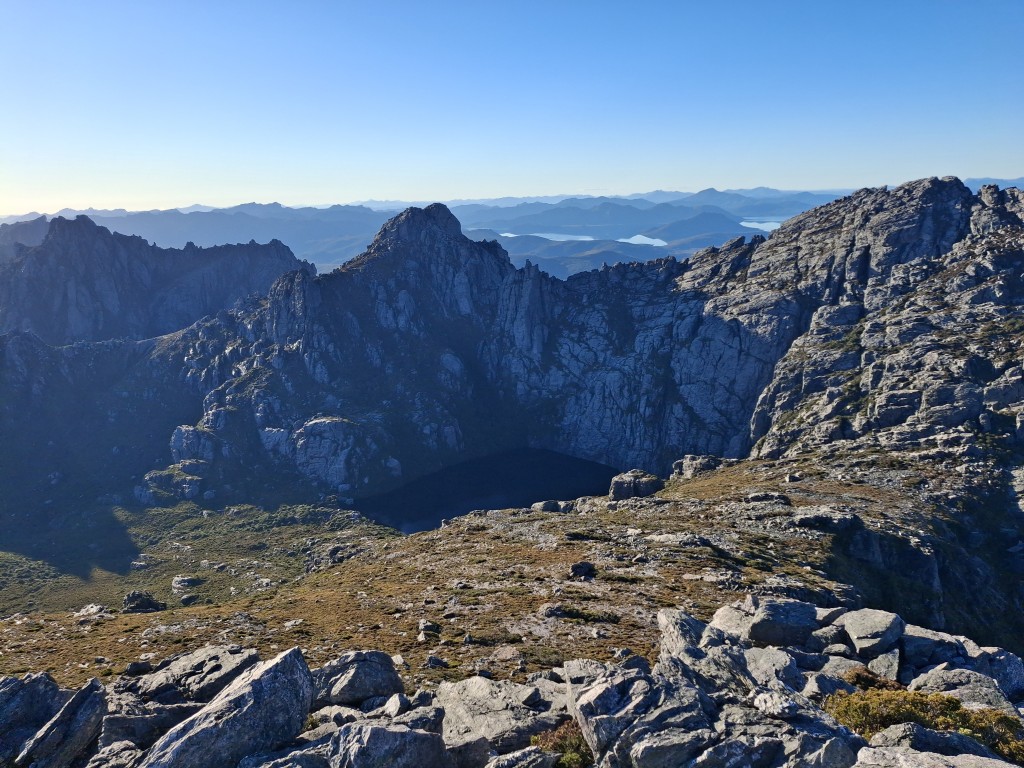
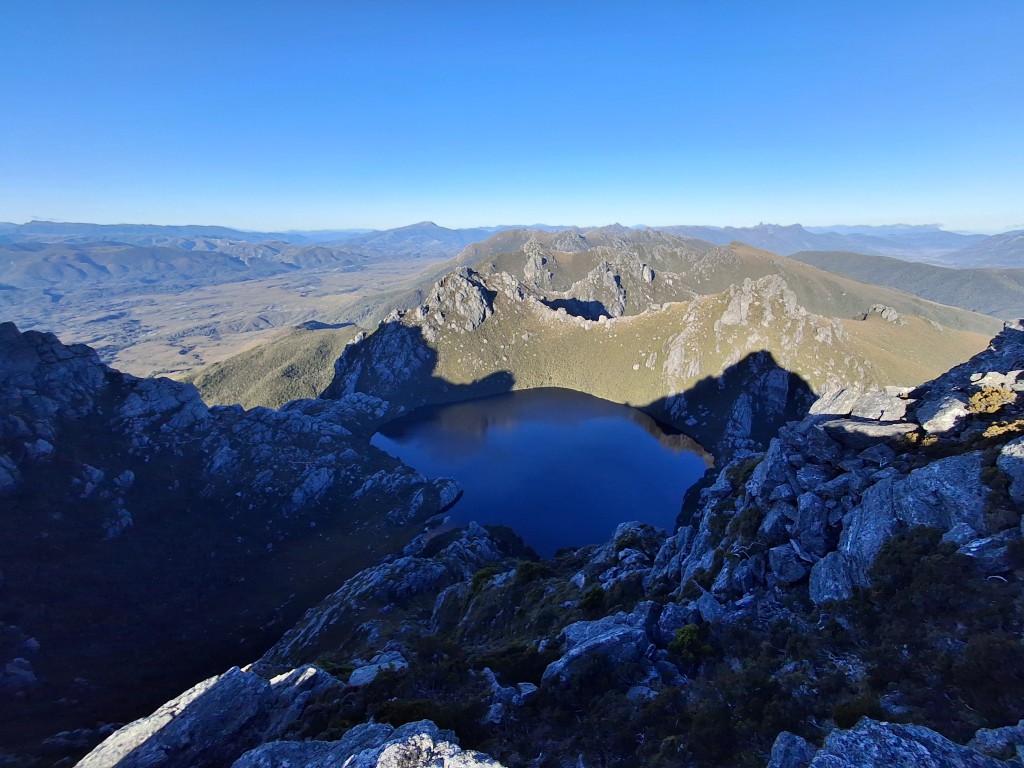
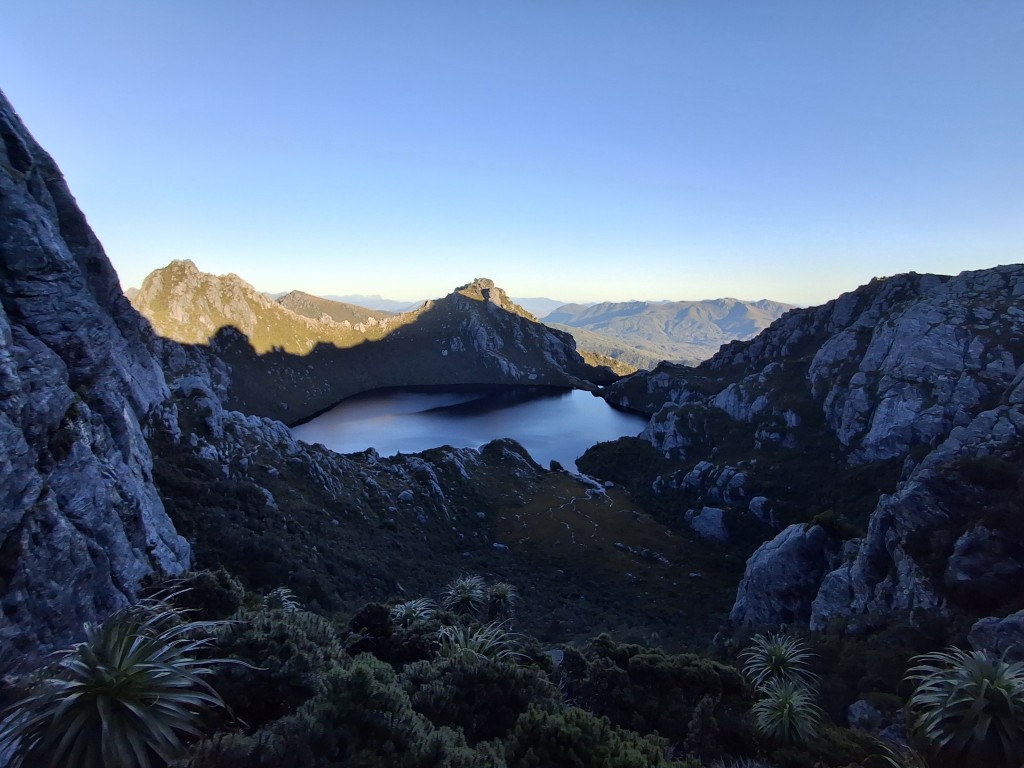
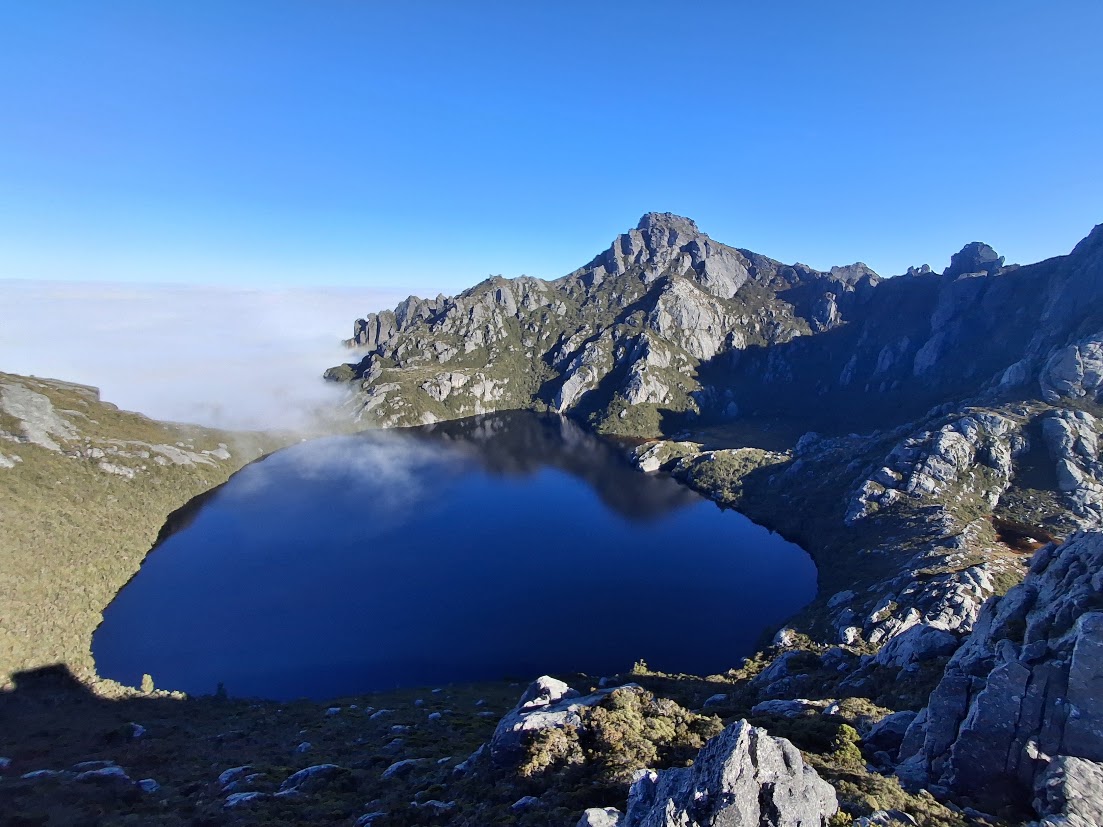
As a part of the trip I had a bit of a side mission to bag the six Abels reachable along the traverse (Hayes, Orion, Sirius, Aldebaran, Scorpio and West Portal). After a quick lunch break at the gorgeous Lake Cygnus, I managed to get to the top of Mount Hayes and Mount Sirius before descending to Lake Oberon for the night.
Day 3 | Lake Oberon to High Moor
Day 3 started with a quick scramble back up to bag Mount Orion. It had been a pretty cold and wet night at Lake Oberon (which is such a beautiful location) with the condensation saturating the tent platforms and all of the surrounding forest. But once again the higher points on the range were well above the clouds (thankfully!) as I topped out on Mount Orion.
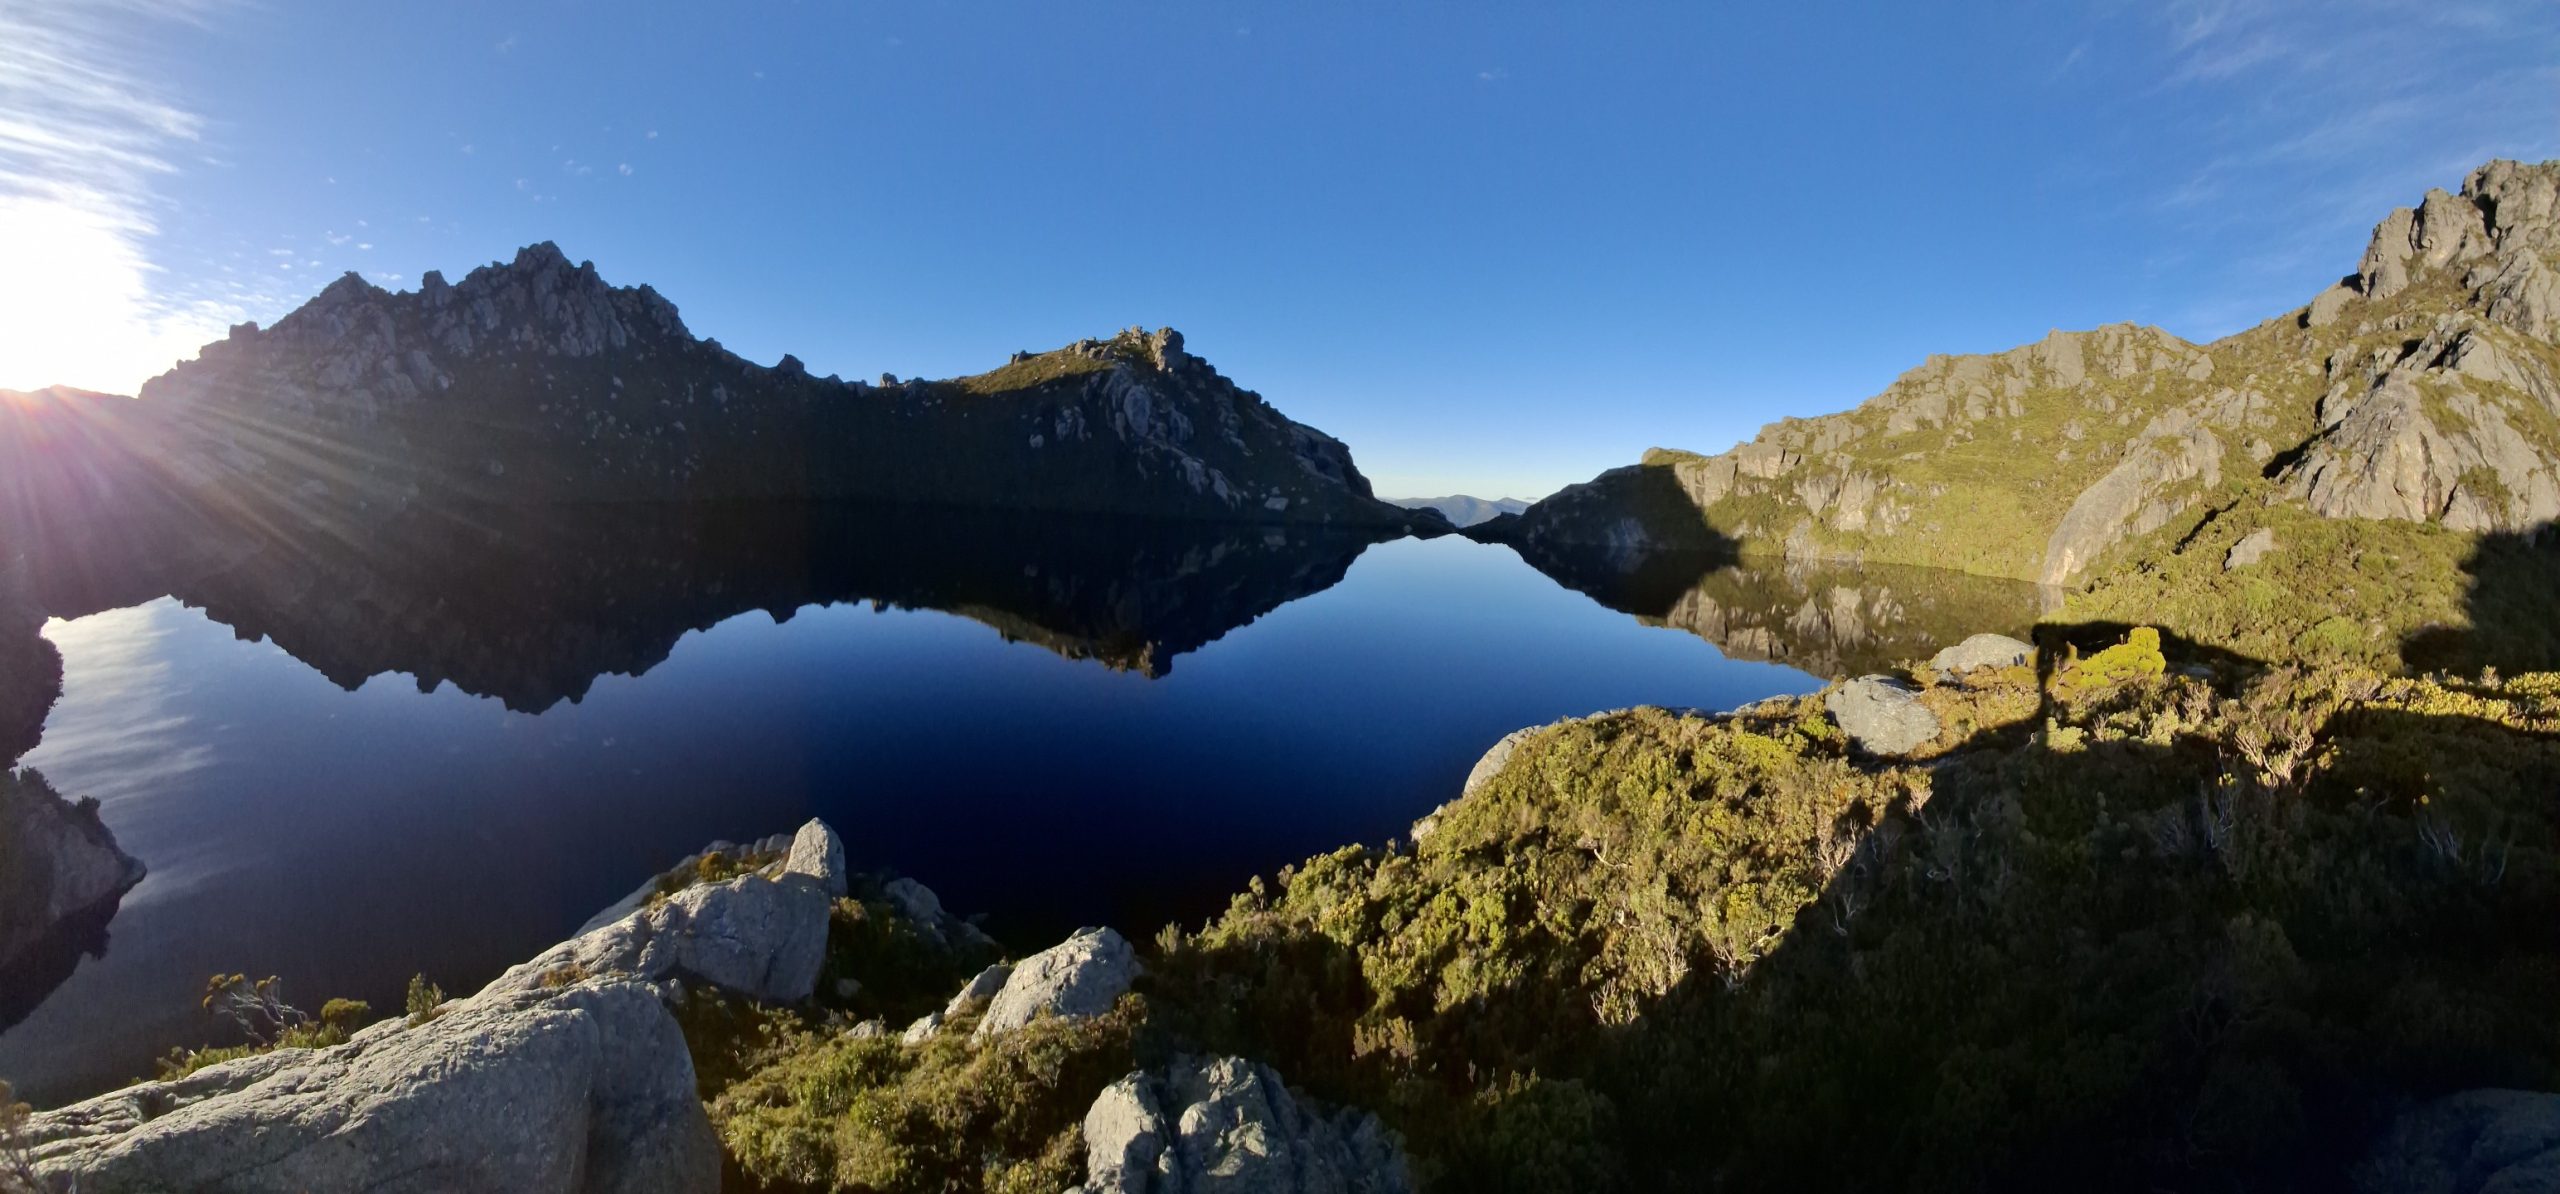
On the way back down to Lake Oberon to grab my pack, the cloud started to slowly rise up from the valley below and flow across the glassy lake. It was a like something out of a movie and I spent some time taking the whole scene in.
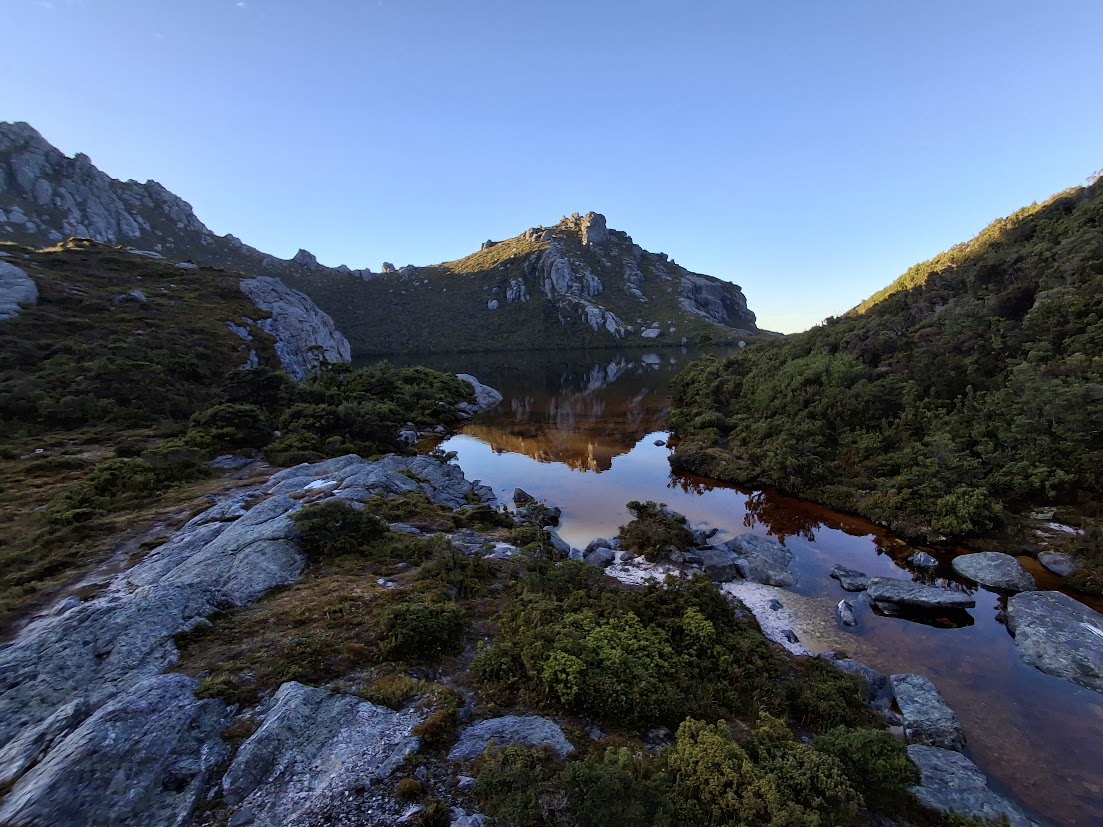
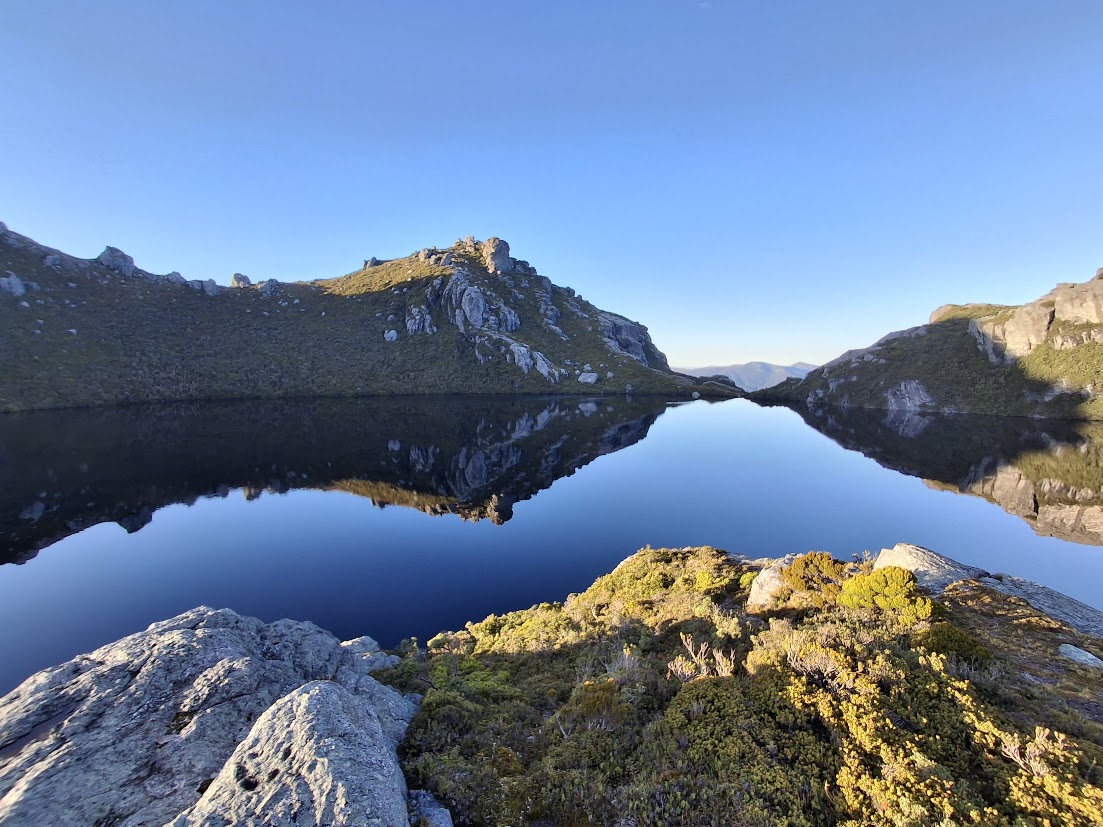
It was very slow going getting up to my night 3 camp at High Moor. The trail in this section is about as technical as it gets, with some very cool rock scrambling combined with constant 50-100m elevation changes. High Moor campsite was definitely one of my favorites as it’s perched up away from major cliff lines and gets more sun than the lakeside campsites.
Day 4 | High Moor to Haven Lake
I had a relaxed start to day 4 as I wanted to dry some of my stuff (thankfully the sun was out on the tent platforms from fairly early) before setting off across the Beggary Bumps and over Mount Taurus to Haven Lake.
The Beggary Bumps have a reputation as being pretty unrelenting and definitely mentally draining and I can certainly vouch for that. The trail between Lake Oberon and Haven Lake is very involved, especially with a heavy pack, and you really have to be paying attention non-stop to avoid coming to grief.
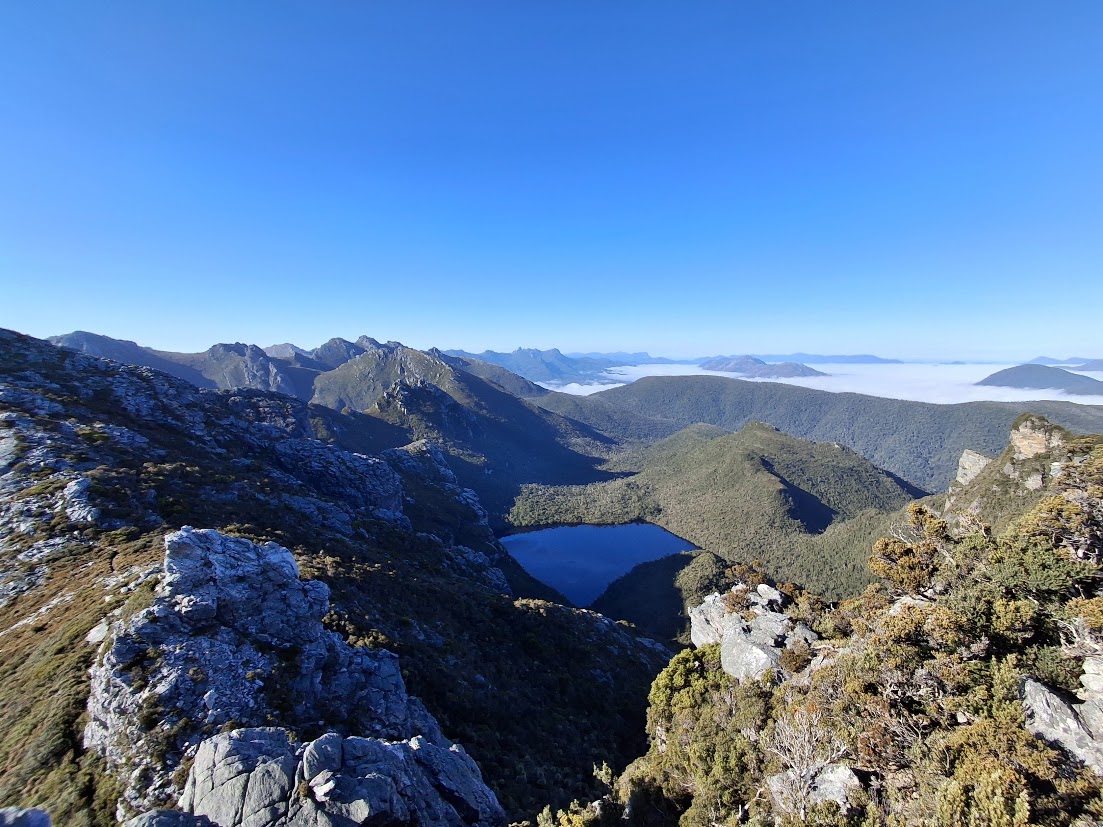
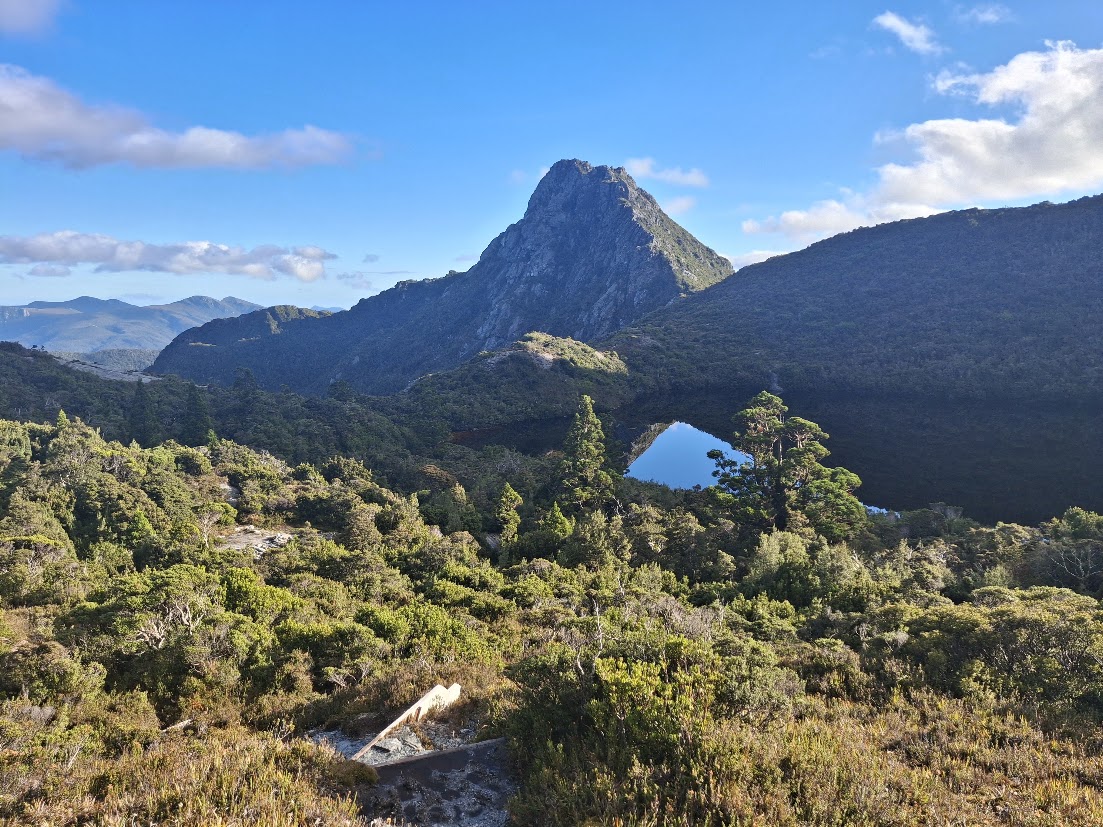
I was pretty stoked to make it to the beautiful Haven Lake by mid-afternoon. My legs were starting to feel the pinch after so much technical terrain so it was nice to spend half an hour just basking in the sun on some of the boardwalk overlooking the lake.
Day 5 | Haven Lake to Lake Promontory
Day 5 was decision day. I had been keeping an eye on the weather with the option to bail out down Kappa Moraine always in the back of my mind. I had plenty of food left and the awesome weather was going to continue for at least the next few days so, despite my body perhaps not agreeing, I dropped down from the top of Kappa Moraine towards Lake Vesta and Lake Juno to continue the traverse (after popping up to bag Mount Aldebaran and Mount Scorpio in the morning of course!).
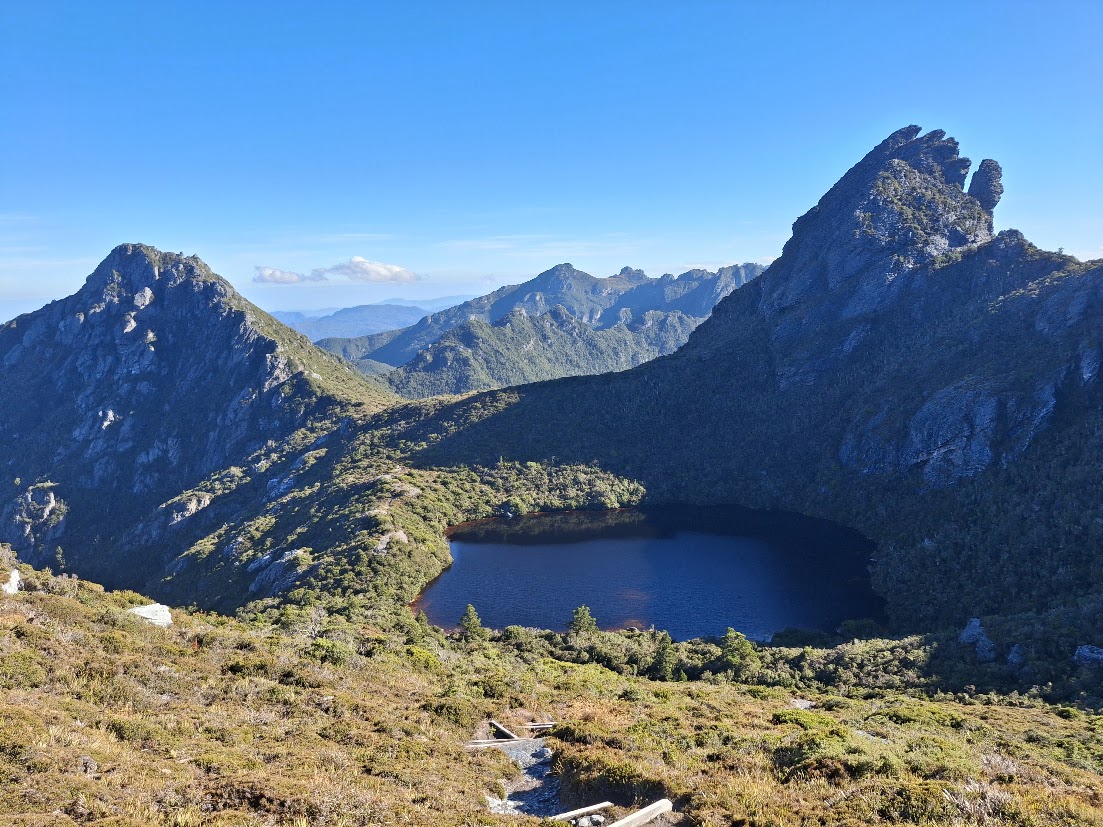
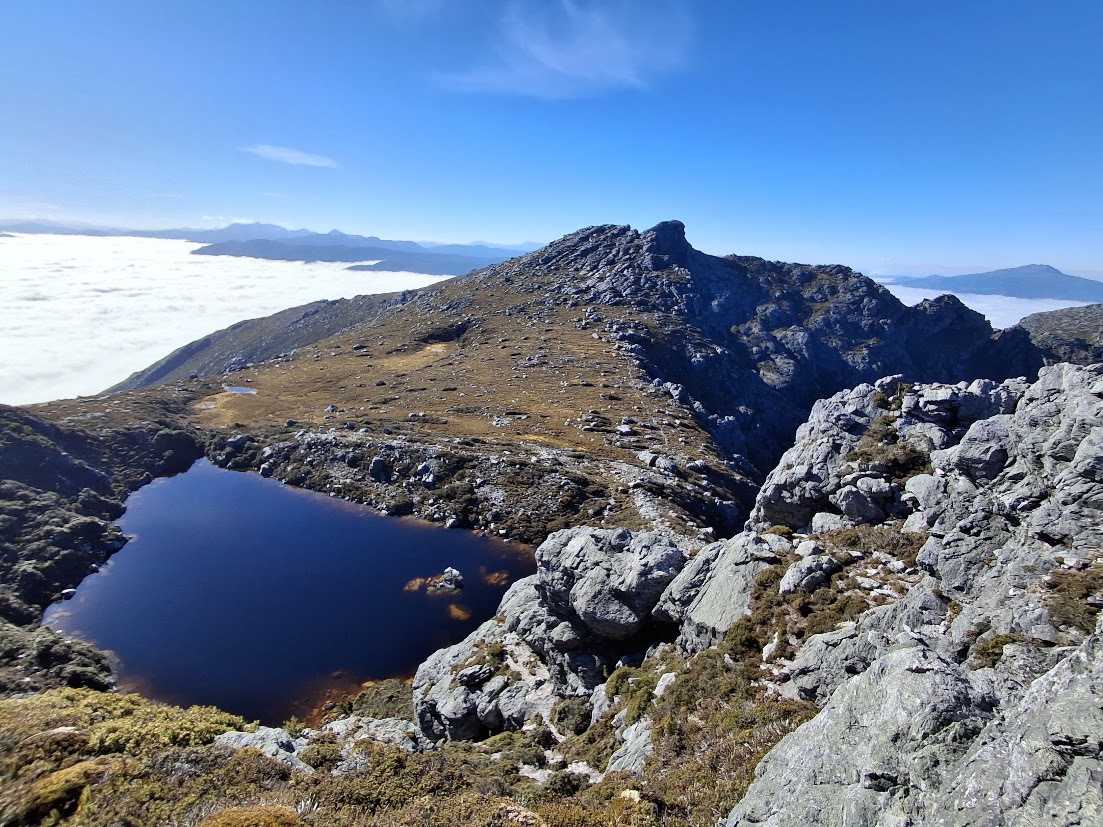
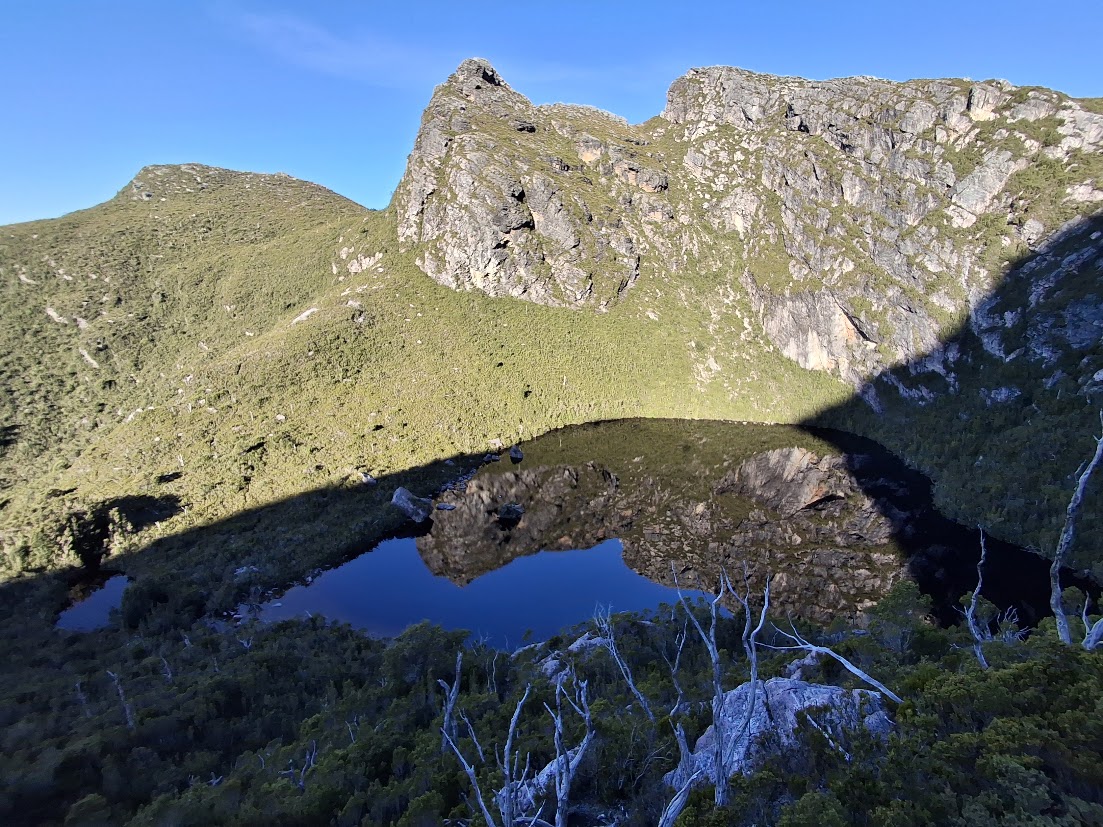
The trail almost instantly became a lot more rugged with head-high overgrown scrubby sections featuring all the way up to the Lake Promontory plateau. I was hoping it would open up once I made it to the lake, but the trail around the lake to the campsite at the south-eastern end was some of the most overgrown I’ve experienced on-trail in Tasmania.
Safe to say I was very happy to make it to the Lake Promontory campsite and even jumped into the lake for my first proper wash in five days.
Day 6 | Lake Promontory to Cracroft Crossing
I woke on day 6 with a bit of apprehension. I didn’t know much about the trail after Promontory Lake but had heard that it could be much more overgrown and harder to follow than the standard A to K trail.
As the wind was meant to be picking up that night, I was hoping to get past Lake Rosanne and off the range that day, but wasn’t sure how quickly I was going to be able to move, especially if I needed to spend some time navigating (as well as summit West Portal).
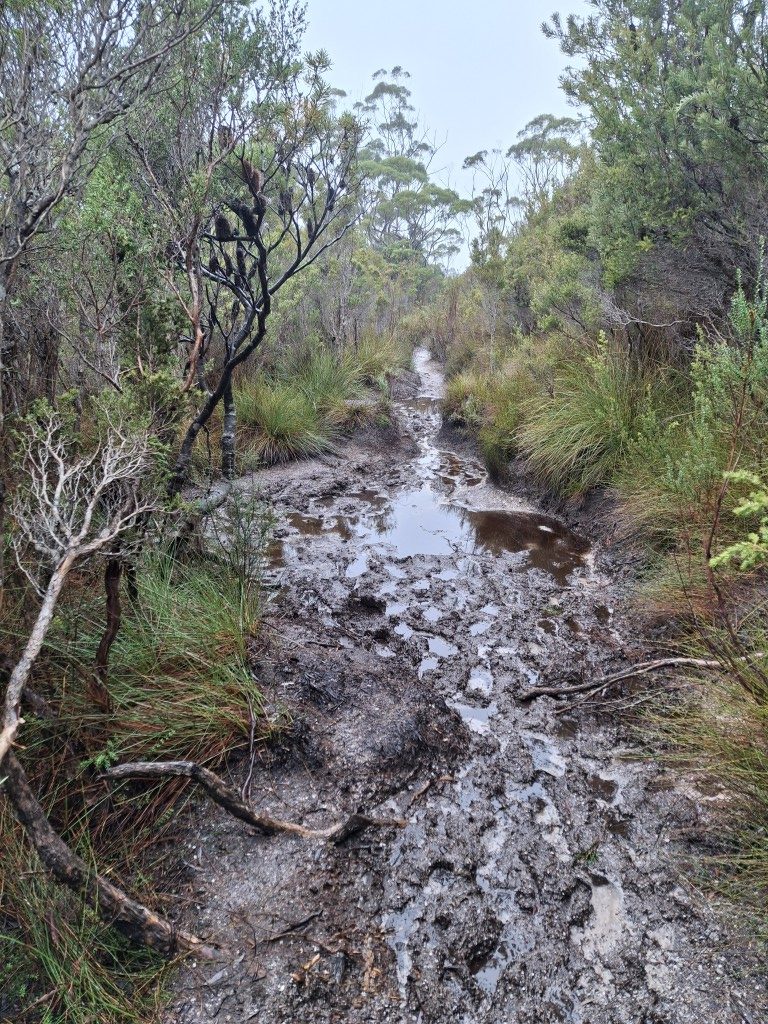
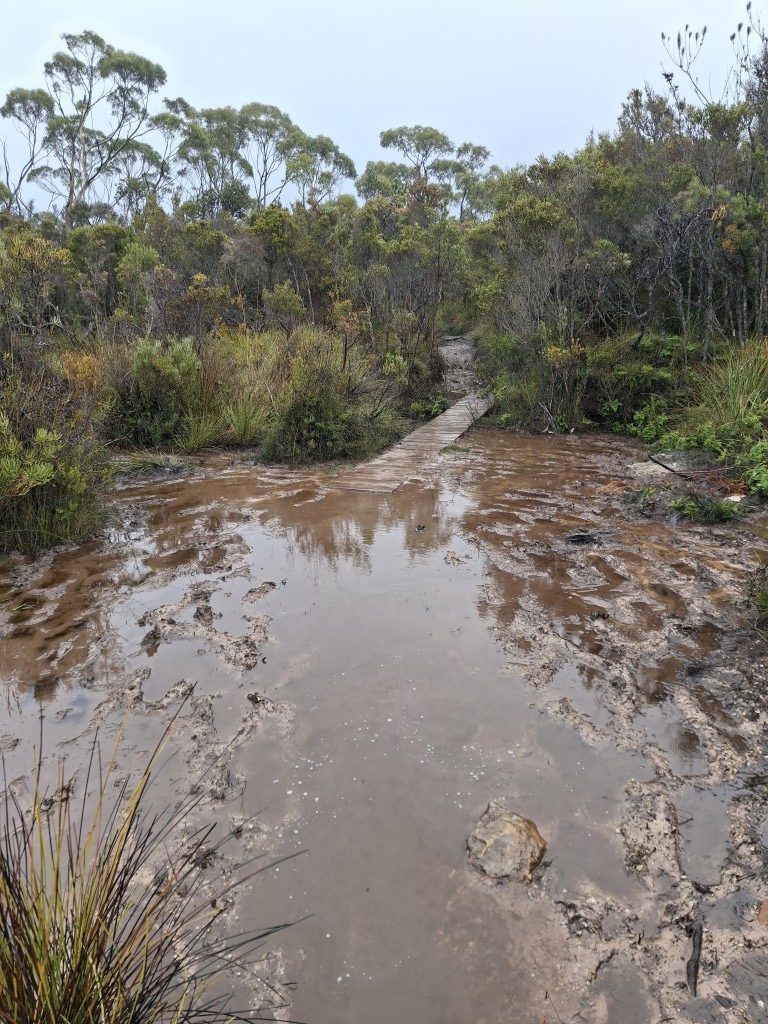
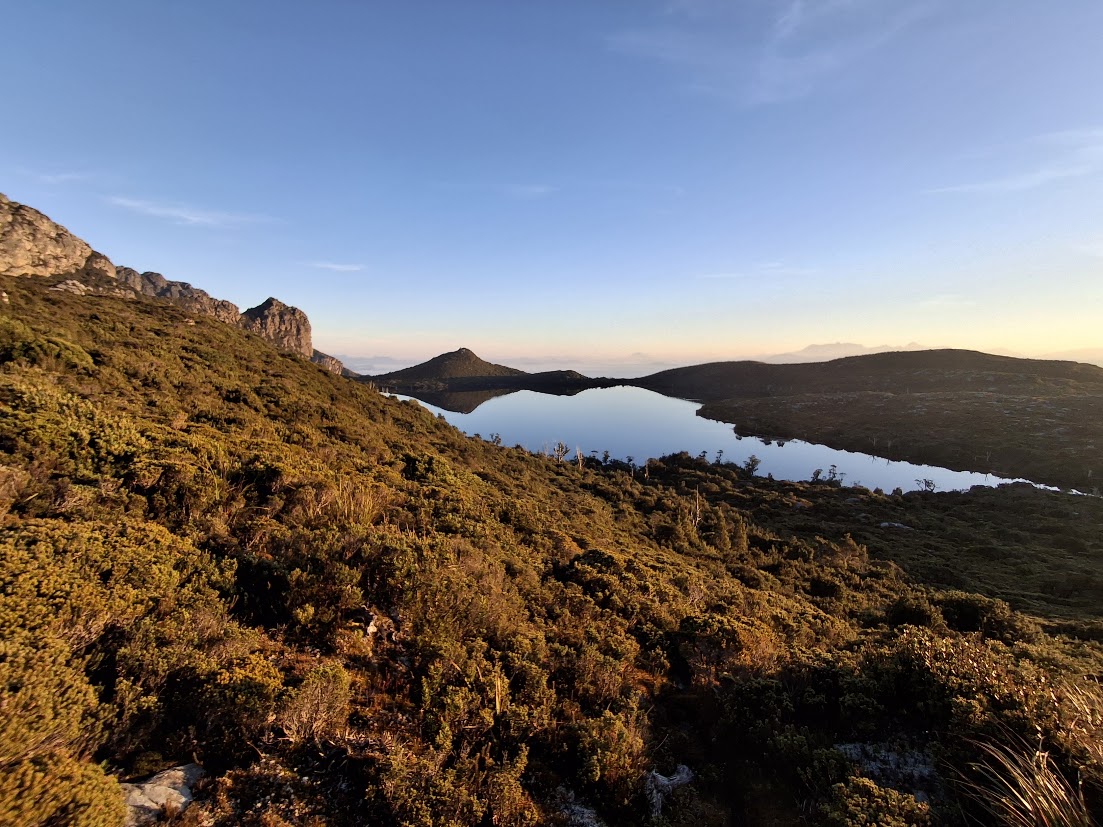
I had no reason to be concerned though, as day 6 actually featured some of the nicest walking of the whole traverse. The section after the Crags of Andromeda was really flat and open and a nice change from the technical and steep up and down of the past few days (and the mud of day 1!).
I comfortably made it past Lake Rosanne and off the range to get to Cracroft Crossing just as the sun was setting. Knowing I was within a day’s walk of the trailhead was a good feeling and I had a double dinner that night to celebrate.
Day 7 | Cracroft Crossing to Scotts Peak/Huon Campground
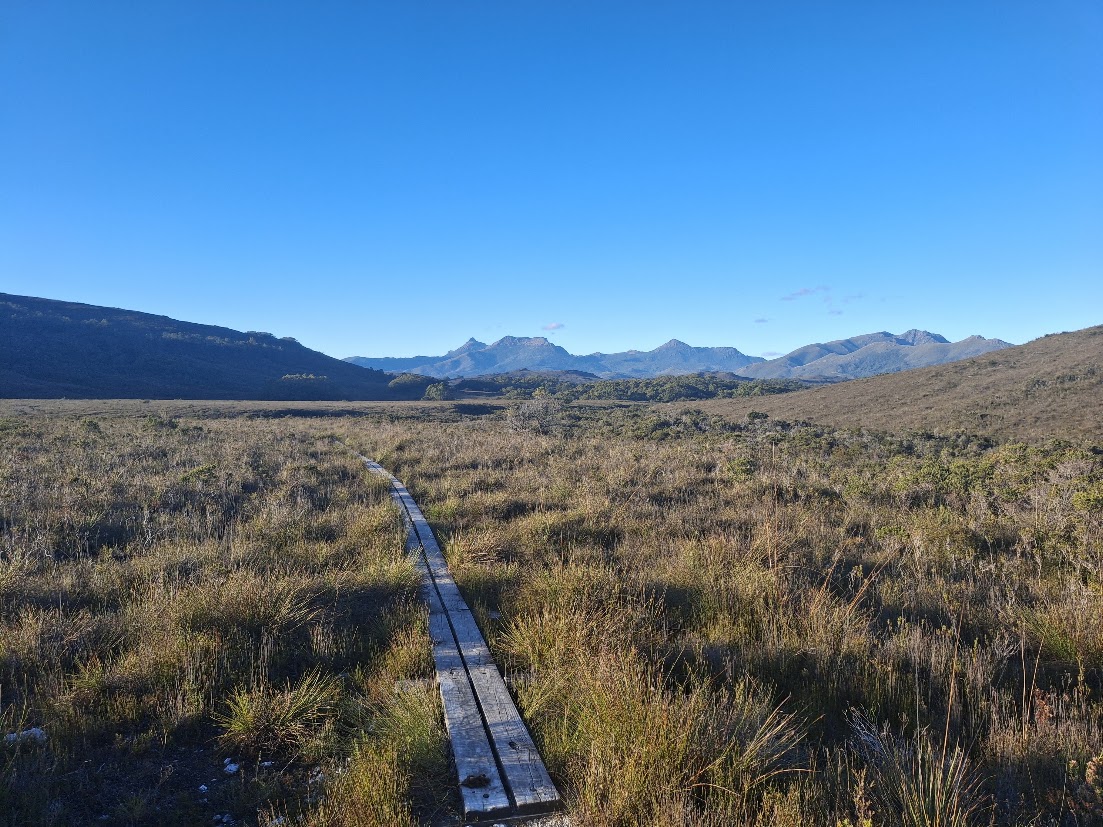
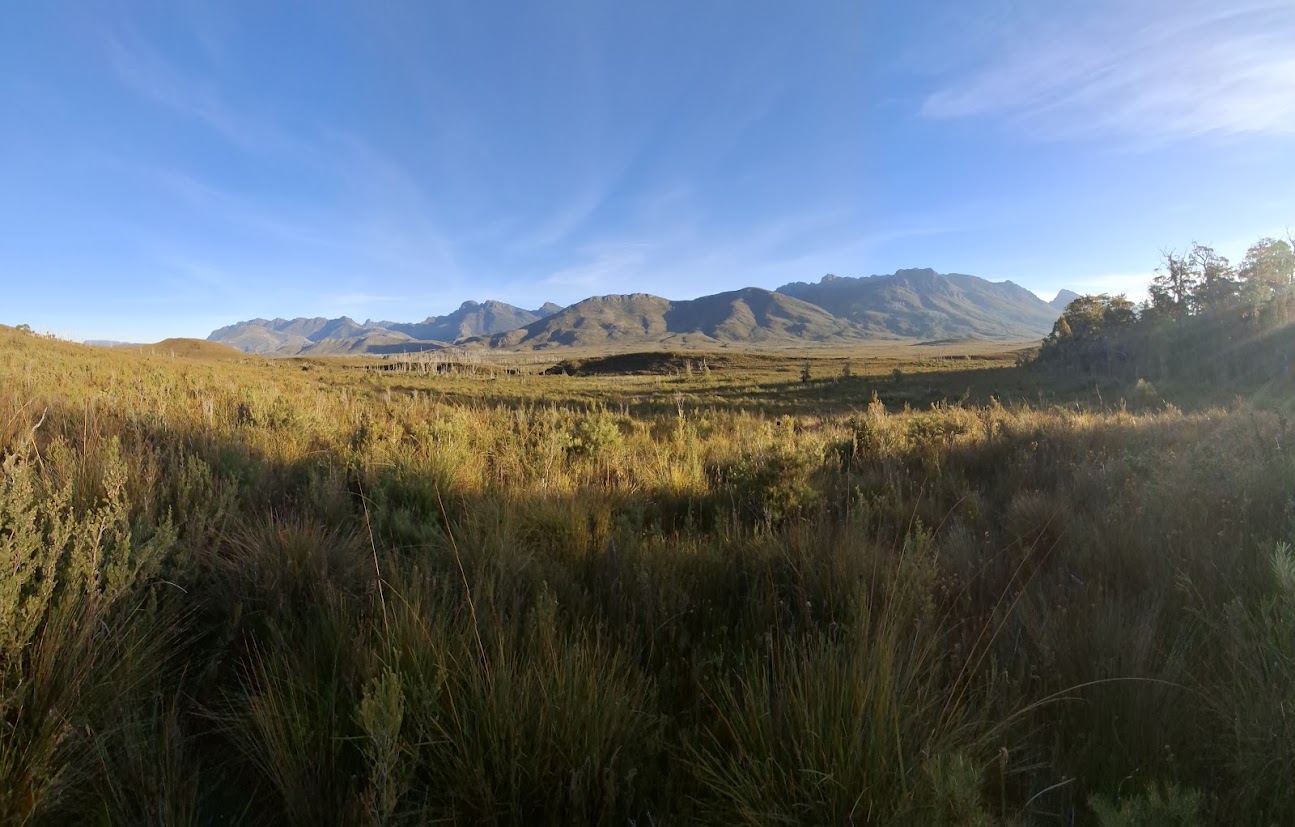
I knew I had to make an early start to complete the 25+ kms back to Scotts Peak/Huon Campground with enough daylight to get back to Hobart that night. As I was back on the plains, I was greeted with a chilly start to the day in the clouds. The Arthurs Plains trail is a classic Tasmanian track across the button grass plains featuring plenty of mud but I made good time to Seven Mile Creek where the track meets the Kappa Moraine track.
At this point the cloud started to burn off and I pushed on towards Junction Creek. It was awesome to be able to see the whole range as I reflected on what had been an amazing and challenging adventure. I had certainly gained a new respect for anybody who ventures into the Western Arthurs, especially those who push through in less than ideal weather. It’s every bit as harsh as it is beautiful and an environment where you earn every view and unforgettable experience.